
How to set print area in excel?
Generally, when the Ctrl+P key (print command) is pressed in Excel the entire page gets printed by default. All the time, the user does not need to print the entire sheet with data. Sometimes, they may require to print a particular area instead of the entire sheet. Thus, they can set print area to print only the necessary part of the sheet.
Excel allows the users to set the area to print a particular area of the Excel sheet. This Excel feature is called as Print area. In MS-Excel, if you set a print area in a worksheet, only that selected part of the print area will be printed.

This chapter and its topics will help you to set the print area. In this chapter, we will instruct the Excel users to set the print area in a worksheet.
What is print area?
A print area is a special feature of printing in MS Excel that enables the users to print specific area (a range of cells) of a worksheet. When the print command executes, only the selected area (print area) of the Excel sheet goes for print. It means that only a selected portion of the sheet gets printed instead of entire sheet on applying print area feature on the sheet.
One of the advantages of using print area is that you can define multiple print areas in a single worksheet or a single workbook. Each defined print area will print on different pages. It helps when the users require the data to be printed by broken on different pages.
In case your mind changes and you do not want to print by area, you can clear it out and go for the entire sheet print at once.
Advantage of using print area
- Print area enables more control over the workbook for printing the data.
- By setting the print area, you will get resolved the problem of printing the entire sheet data instead of necessary one. You do not need to print the data of a worksheet, which you don’t want.
- Print area allows to print each set of print area on a new page.
- The Excel users can set more than one print area within a single worksheet/workbook.
- The user should set the print areas before sending the Excel data for print.
- Excel has a feature named as Print Area inside the Page Layout tab.
- A worksheet can have multiple print areas. Each of the areas prints separately on different pages.
Topics covered
Following are some important topics about set, edit, and remove print area that we will try to cover in this chapter:
- Set the print area
- Edit or remove print area
- Set more than one print area
- Modify the print area
- View a print area
- Clear the print area
Set the print area
Print area is a very interesting feature of Excel. This section of this chapter has the instructions to set the print areas in a worksheet. You can follow this chapter till the end.
Take an Excel sheet of data on which you can perform the steps to set the print area. Then, execute the steps given below:
Example
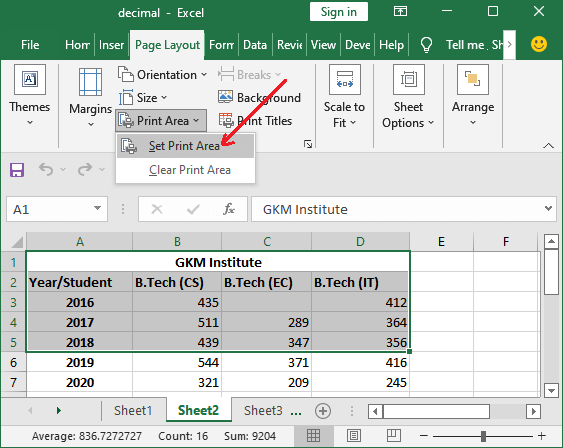
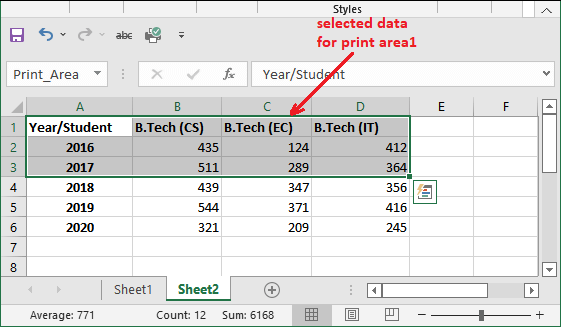
Step 1: We have also taken an Excel sheet and selected a set of data to print it. You also select a range of cells.

From the set of data, we will create a set of three years of data to print.
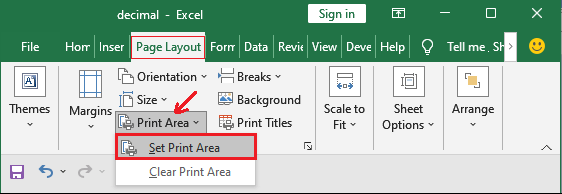
Step 2: Click the Print Area inside the Page Layout tab.

Step 3: Click the Set Print Area option here. A print area is set successfully.
Step 4: You will notice that the Print_Area text is appearing inside the name box it means that the print area has been set.
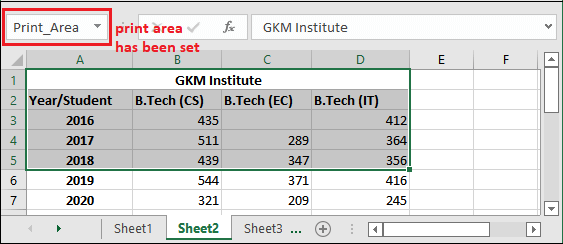
Save the Excel file and close the file now and reopen it.
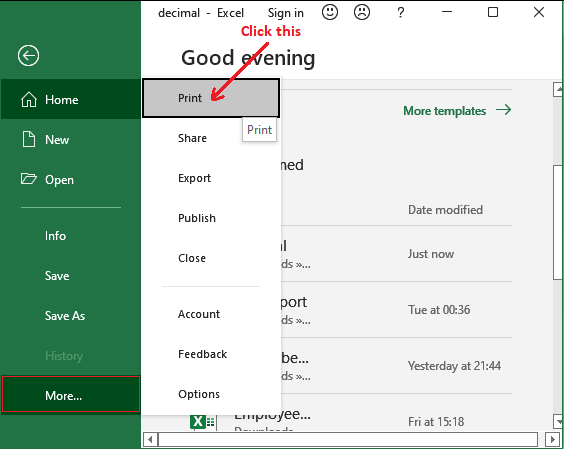
Step 5: Click the File tab and click the Print option to print the created print area in the previous steps.
File > More > Print
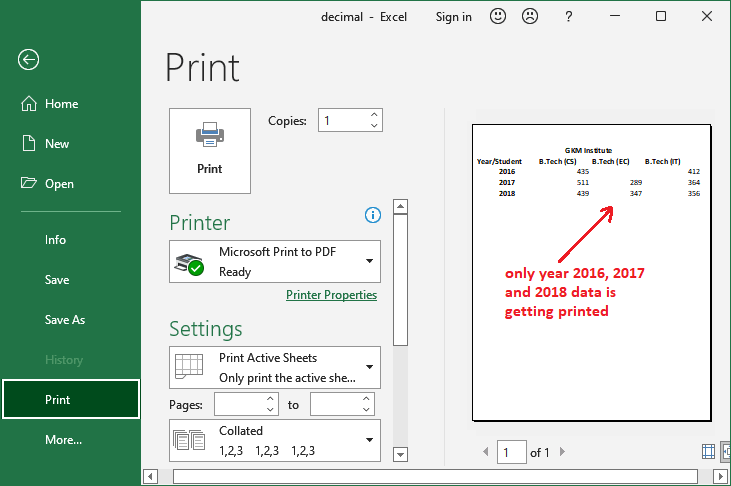
Step 6: See the print preview for the print area data. You will notice that the only print area will be showing inside the printing screen.
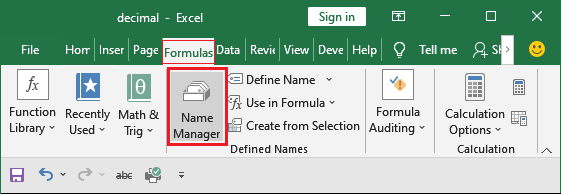
Note: To edit or remove the print area, you can use Name manager. You will find this option inside the Formula tab under the Defined Names group section.
Edit or remove the print area
Sometimes it might be possible that the requirement has changed. You need to edit or remove the print area you have set earlier. Excel allows the users to edit or remove the print area.
Do not mislead, the steps for edit and remove the print area are totally different than setting the print area. We will instruct you to edit or remove the print area in an Excel sheet.
Edit print area
Firstly, we will show you how one can edit the print area. Let’s see the steps for it below:
Step 1: Open the Excel sheet in which you have set the print area.

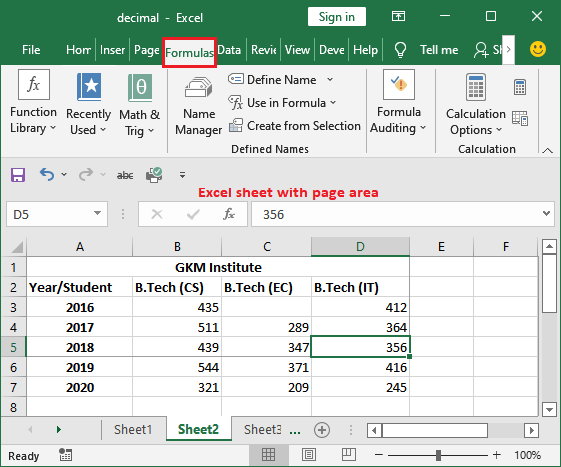
Step 2: Change the tab to Formula tab, where you will see the Defined Names group. In which, click the Name manager option.
Step 3: A panel will open containing with all print areas set by the users. It can be one or more. We have only one currently.
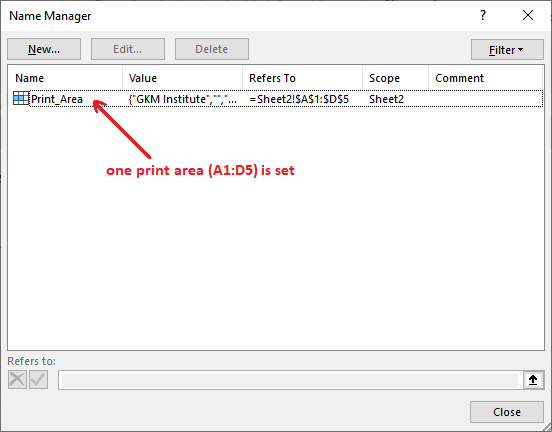
Step 4: To edit the print area displayed here, select the print area and click the Edit button.

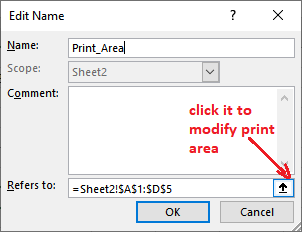
Step 5: You can also edit the name of the print area you set. Also, you can add and remove the cells to be printed as a print area.

Step 6: To modify the range of cells for the print area, click the Refer to icon.
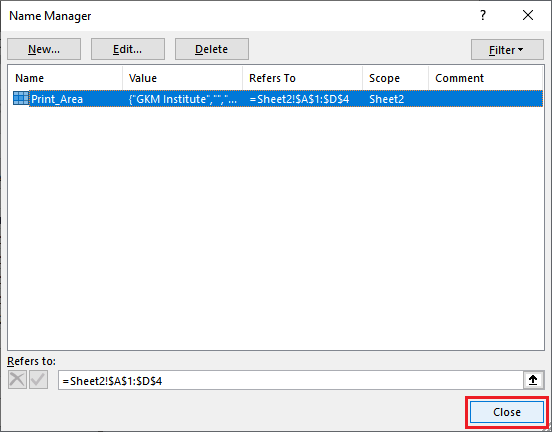
Step 7: We have reselected the range of cells to set as print area. The previous print area range (A1:D5) has changed to (A1:D4).

Step 8: Now, click OK to save the modified print area range.

Step 9: Once again, the Name Manager panel will open where click the Close button to keep the changes with a new range.
Step 10: Now, on the Excel sheet, click on the File tab to go to on the Excel backscreen.
Step 11: On the Excel backscreen, click More and then Print.
Step 12: You will see that – this time, only two rows of data are going to be printed.

Delete print area
If you want to delete the print area you set to print the specific part of the worksheet, you can do it too. The steps for it are almost the same as editing the print area.
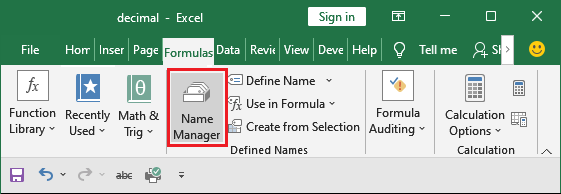
Step 1: Open the worksheet containing print areas and navigate to the Formula tab.
Step 2: In the Formula tab, click the Name Manager option residing inside the Defined Names group section.
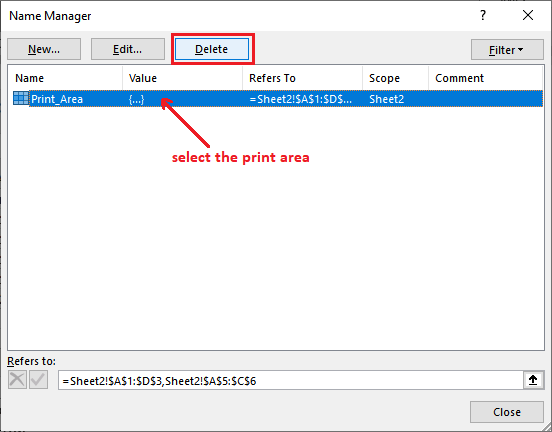
Step 3: To delete the print area displayed here, select the print area and click the Delete button.
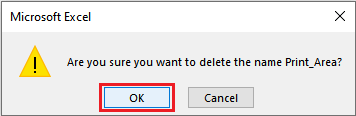
Step 4: A dialogue box with delete action confirmation will open. Click the OK button to confirm the deletion.
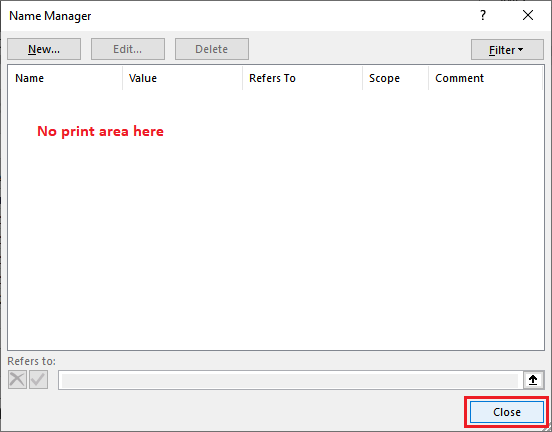
Step 5: See that the print area that you see in the previous steps has been removed. Now, hit the Close button.
Now, if you print the Excel data, the entire sheet data will print as usually happens.
Set more than one print area
The Excel users are not bound to set only one print area in an Excel sheet. They can set more than one print area at the same time within a single worksheet. You have to repeat the same steps to set one or more print area in Excel.
You can say that – it is a very interesting property of MS Excel that the user can print a particular part of sheet instead of an entire worksheet.
Follow the steps to set the one or more print area in an Excel sheet:
Step 1: We take an Excel sheet with data and select the set of data from it to create the print area to print it.
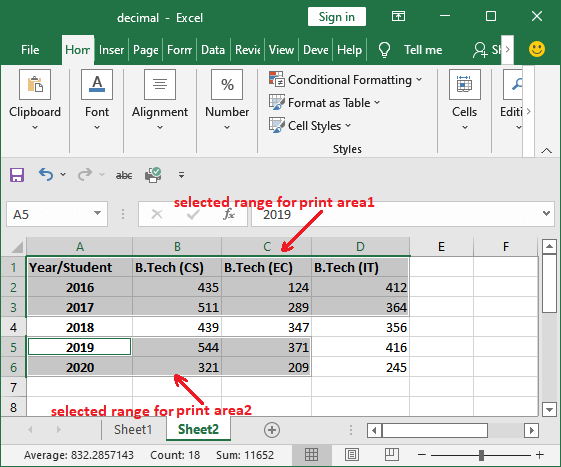
We have selected our first range from A1 cell to D3 cell.
Step 2: Hold the Ctrl key and select other range of cells for another print area.
We have selected another range for the print area from A5 cell to C6 cell.
Step 3: Now, click the Print Area inside the Page Layout tab and choose the Set Print Area option from the list.
Multiple print areas are set at once. Now, if you will print the worksheet having print areas, each print area will print on a separate page.
“Basically, you break down the Excel sheet data on different page to be printed separately.”
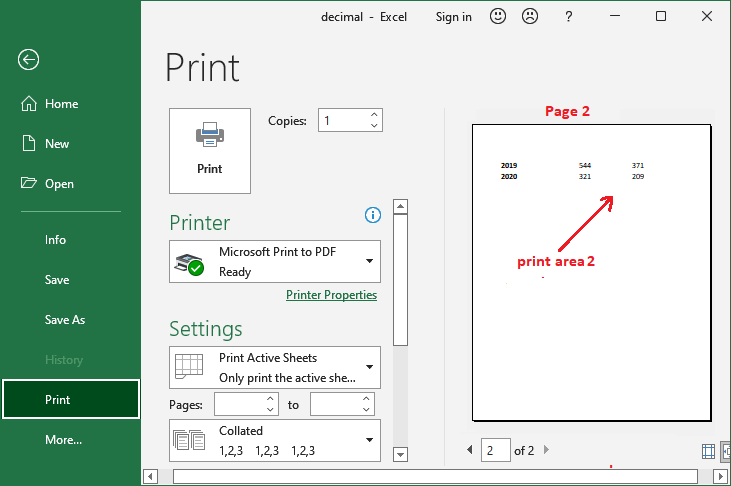
Step 4: From the Excel backscreen, click the Print command to print the all set print area.
Step 5: You will see that the two pages are going to print here.
Print area 1

Print area 2
In the same manner, the multiple print areas can be set by selecting the different range of cells by holding the ctrl key.
Clear the print area
The users can clear all the print areas at once using the Clear print area option. This option you will find inside the Formula tab. Using this, one can clear all the print area sheets in a worksheet at once.
Go through with the steps to clear the print areas:
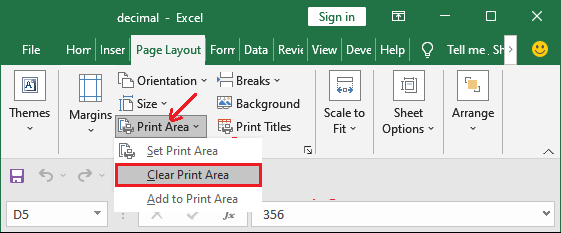
Step 1: Open the worksheet in which the print areas are set and then navigate to the Page Layout tab.

Step 2: In the Page Layout tab, click the Print Area dropdown option and then click the Clear Print Area from the list.
All the print areas will be cleared out in one go. Now, if you try to print, the entire worksheet will print.
View a print area
You can view the number of print areas when you print the Excel sheet on separate page. But you have to use the print command to see the number of printing page. It might be confusing if a print area has a large set of data that takes more than one page to print. In that case, you cannot differentiate whether it is a single print area or separate.
Excel enables another way to view a print area. You can also view the print areas that exist in an Excel sheet by using the Excel page break preview method. This feature you will find inside the View tab. Excel page break allows the users to see all the break downs in a worksheet. You will then see each print area you had set in this sheet.
Step 1: Open the worksheet that has print area.
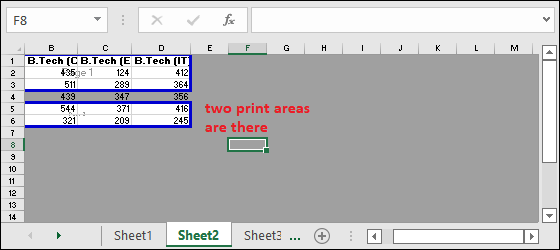
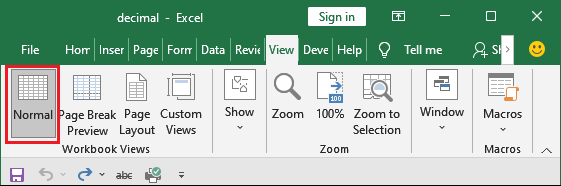
Step 2: Navigate to the View tab and click the Page Break Preview inside the

Step 3: See that how many pages are there. You are seeing the two print areas that are inside the blue line.
Step 4: To come back to the normal mode, click the Normal option here.
Modify the Print Area
Modifying the print area saves you from deleting and recreating the print area if you want to change something in it. The Excel users can add or remove the cells in the existing print area. Thus, you don’t need to delete and then recreate the print area with new range.
See the steps to modify the print area:
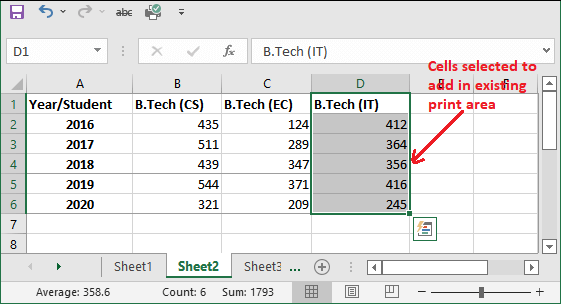
Step 1: Select the new cells you want to add in the existing print area.
Step 2: Now, inside the Page Layout tab, click the Print Area and select Add Print Area from the list.
Page Layout > Print Area > Add Print Area
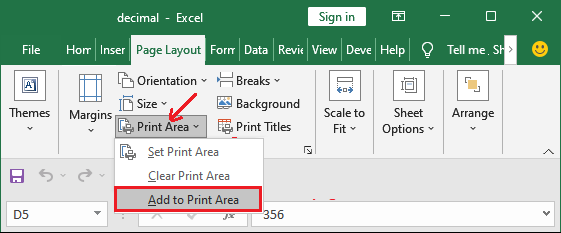
Note: Add Print Area option will only be visible when the sheet will have an existing print area. Otherwise, this option will not show you.
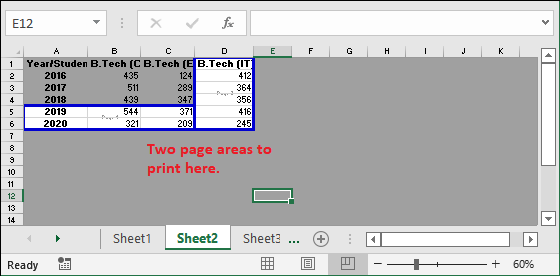
Step 3: You will see that it would modify the existing print area for this sheet and include the new cells to print with it.
Go to the View tab and click the Page Break Preview to see the number of page areas in the file.
Things to know while modifying print area
A few things are here that one should know while modifying the print area in an Excel sheet:
- When the new cells are added to the existing print area, the named range Print_Area changes. The Excel users can also directly edit the named range to modify the print area.
- Excel creates a new print area if the new print area and existing print area are not adjacent. It also prints both print areas separately on the different pages. Whereas, print area will be merged and printed in the same sheet when the new print area and existing print area are adjacent.
Print multiple areas on one page
A worksheet can have multiple print areas. You already know that each print area prints on a separate page. You can also print them on a single page.
Printing multiple areas on different pages is controlled by the printer model, not by MS Excel. The user can control the print areas even after setting them in an Excel sheet. By following the below steps of printer properties, they can control print areas and print them on a single page:
- You can verify this option that is available to you.
- Press the Ctrl+P or you can click the Print command from the Excel backscreen and click the Printer Properties link.
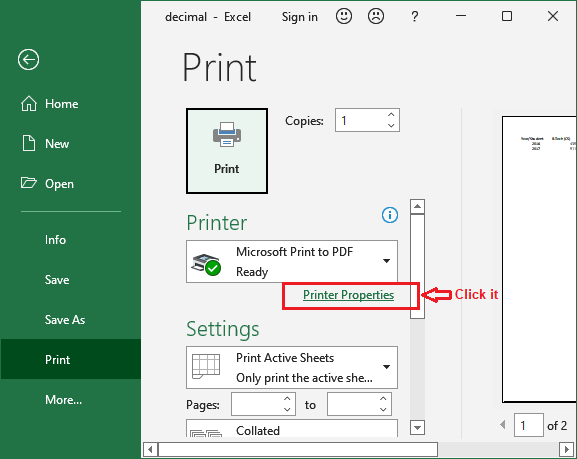
- Now, switch through the available tabs of the Printer Properties dialogue box, searching for the Page per sheet option.
If your printer does not have the options we have described above, then you have to use the last way we have. You can copy all the print ranges to a new sheet using the Paste Special feature.
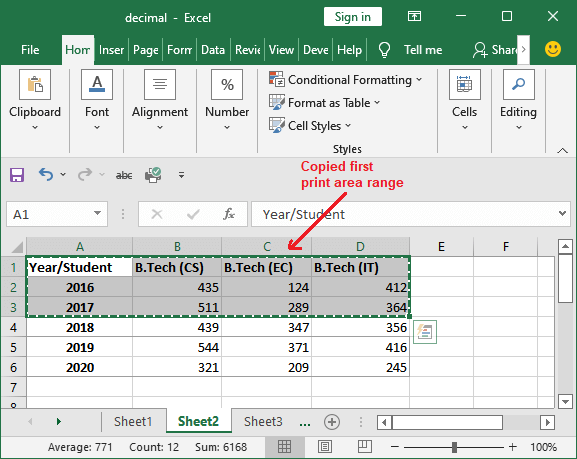
Step 1: Open the Excel sheet with print areas, select and copy them using Ctrl+C one by one.
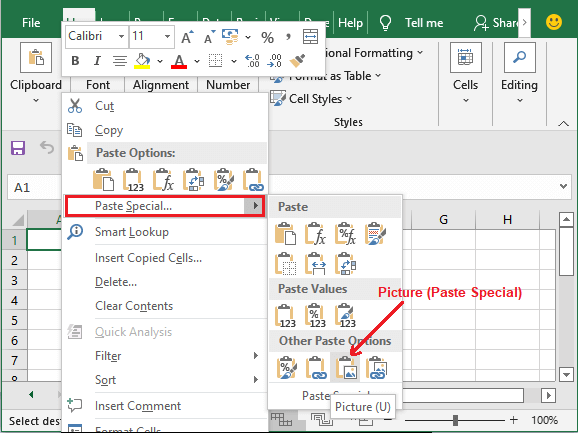
Step 2: Open a new sheet, right-click on any blank cell, and choose the Paste Special > Linked Picture option.
Step 3: Now, use the same steps for other print areas you want to copy.

Step 4: You can now print the new sheet with all print areas data by using the Ctrl+P command.
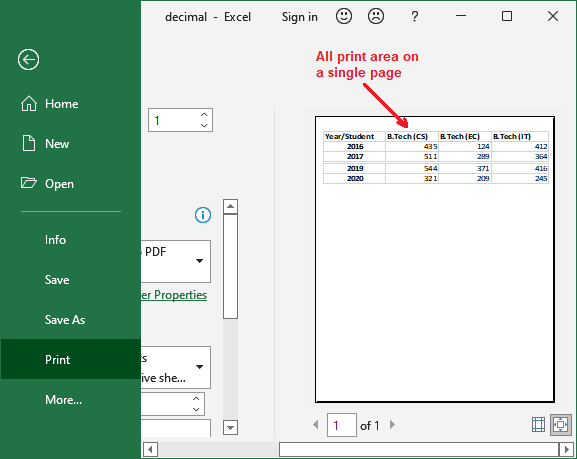
All the print areas will print on a single page as normal printing method.


