
How to double space in Microsoft Word
Enabling the double space in Word document helps you to easily read, edit, and make notes.
Method 1: Enable double space for the whole Word document
There are the following steps to enable double space for whole Word document –
Step 1: Open the Word document in which you want to enable double space for the document.
Step 2: Select the whole document using Ctrl+A key from the keyboard.
Step 3: Go to the Home tab on the Ribbon and click on the Line and Paragraph Spacing icon in the Paragraph group.
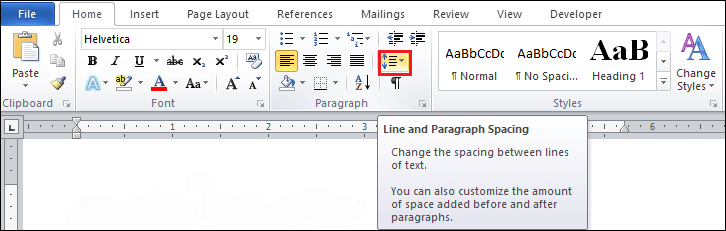
Step 4: Once you click on the Line and Paragraph Spacing icon, a pop-up window appears on the screen. Select the spacing number according to your requirement.

Now, you can see that double spacing is added in your Word document.
Note 1: Using the above-mentioned steps, you can enable double space in Microsoft Word 2007 and Microsoft Word 2010.
Note 2: You can also press Ctrl+2 key from the keyboard to enable double space and press Ctrl +1 key from the keyboard to enable the single space in the Word document.
Method: 2 Enable double space in a paragraph
Follow the below easiest steps to enable double spacing in Word document –
Step 1: Open the Word document.
Step 2: Highlight or select the paragraph in which you want to enable the double spacing.
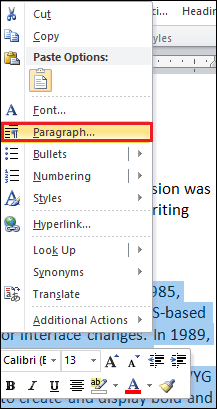
Step 3: Right-click on the selected paragraph, a list of options will appears on the screen. Click on the paragraph option on this list.
Step 4: A Paragraph dialog box will appear on the screen. Go to the spacing tab and click double from the Line spacing drop-down menu and click on the OK button, as shown in the screenshot below.

Once you did all steps, you can see that double spacing is enabled in the selected paragraph.


