
How To Create Table in Excel
An excel worksheet is itself a combination of rows and columns, and data is organized in the cells, but it doesn’t seem like a table with a proper border and arrangement. Thus, an Excel table is different.
In this section, we will discuss what an Excel table is, how to create it and format it.
What is Excel Table
In an excel worksheet, an excel table is a special object that is complete in itself and enables the user to independently arrange the data of the table from the rest of the excel worksheet data. We can also style the excel table as it has several formatting features:
- Excel tables have inbuilt table styles and enable easy formatting.
- Auto adjustment of the Dynamic charts (if used) on inserting or deleting data.
- Excel tables allow integrated sort and filter options where we can also perform visual filtering with slicers.
- The excel tables are dynamic tables due to which these tables can expand or contract automatically on inserting or deleting any row or column from the worksheet.
- Excel tables have a Quick totals feature that enables the user to perform calculations in one click.
Creating Excel Tables
One needs to follow the below steps for creating an excel table in an Excel worksheet:
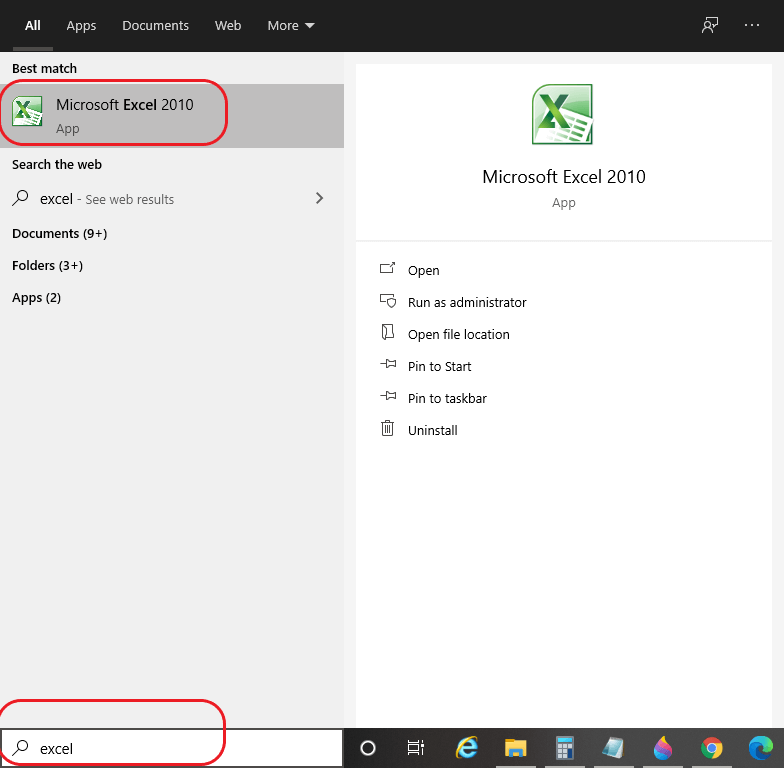
Step 1: Open MS Excel on your computer system either by directly searching on the search tab or using the MS Excel icon, if present on the desktop. A snippet is shown below:
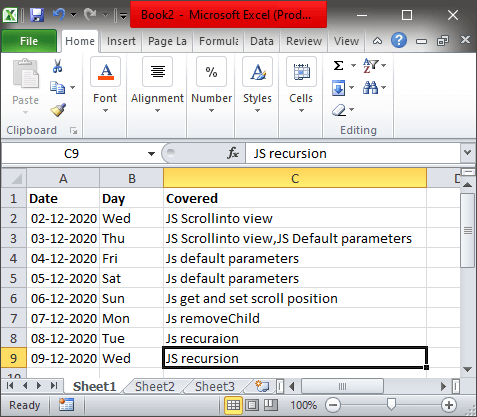
Step 2: Prepare some data, and it should be in such a way that it is forming a tabular structure (for example, taking a monthly report or sales report). We have prepared the following example data and organized it in the tabular form, as you can see in the below snapshot:
Step 3: Next to the ‘Home’ tab, you will see the ‘Insert’ tab; click on it, and you will see the below shown ‘Insert’ tab options:

Step 4: Click on ‘Tables’ or press ‘Ctrl + T’ in order to insert a table for your prepared data. When you click on ‘Tables’, a dialog box will appear asking, “Where is the data for your table?” and for it, you need to provide the cell reference from where you need to keep your data in the tabular structure. You can also notice that it, by default, also take the cell references as per the entered data, as you can see in the below snapshot:

Step 5: Finally, the entered data will get converted into the tabular form, and our table will be created successfully for the specified data. A snapshot is shown below:

By following all these described steps, it is easy and quick to insert a table in an excel worksheet. We can also notice that our table is not looking attractive and can be presented better. Thus, let’s learn how to format and design a table in excel.
Designing Table in Excel
In order to design the created table, we can undergo the following described steps:
Step 1: You might have noticed that while creating a table, a ‘Design’ table tool appeared in the toolbar. If you haven’t noticed, click anywhere on the table and then look at the toolbar, and the ‘Design’ table tools will appear up as you can see in the below snapshot:

Step 2: Under the ‘Design’ table tools, you can notice several tool options, as you can see in the above snapshot.
Step 3: However, it depends on the user what changes and presentation the user wants to give the created table. Here are some of the tool options descriptions:

- Properties
Under Properties, we have the following options:
Table Name: The option is used for editing the name of the created table. By default, the name of the first table created is Table1 (if more than one table has been created, then accordingly). If any formula is to be used, we can change and keep the name as per our preference.
Resize Table: The option is used for resizing the table that is preferred when adding or removing more rows or columns.
- Tools
Under Tools, we have the following options:
Summarize with PivotTable: The tool is used when we want to summarize the data of the created table via Pivot table.
Remove Duplicates: The tool is used for removing duplicate rows or columns from the sheet by specifying and checking the column containing the duplicate data.
Convert To Range: The tool is used for converting the created table to a normal range that no more behaves like a table.
- External Table Data
Under External table data, the following options can be availed:
Export: The option is used for exporting the created table to a Sharepoint list or Visio diagram.
Refresh: The option is used for updating all the data coming from the data source. We can also use the alt + F5 key to refresh the table content or data.
- Table Style Options
Under it, there come the following options:
Header Row: A header row is used for formatting the top row of the table. It can be turned On/Off the header row of the table.
Total Row: It is the row that appears at the end of the table and displays the totals for each column present in the table. We can turn it On/Off for setting the table row.
Banded Rows: The option is used for formatting the even rows different from the odd rows and make it easy to read the table data.
First Column: The option is used if we want to display the first column of the table differently from other existing columns of the table and make it special.
Last Column: The option is used if we want to display the last column of the table differently from other existing columns of the table and make it special
Banded Columns: Under the banded columns option, the even columns are formatted in a different manner from the odd columns.
- Table Styles
Under table styles, there are several styles available for a table. We can apply these styles to our created table as per our requirements and presentation.
Note: These tools under the ‘Design’ tab are for Microsoft Excel 2010 version and may vary as per the different versions.
In this way, we can create a table and make applicable changes to style it.


