How to create labels in Word
In Microsoft Word, you can create a label using the Mailing tab.
Method 1: Create and Print a Single label
There are the following steps to create a Single label in Word –
Step 1: Open the Word document.
Step 2: Click on the Mailings tab on the ribbon and click on the Labels in the Create group.

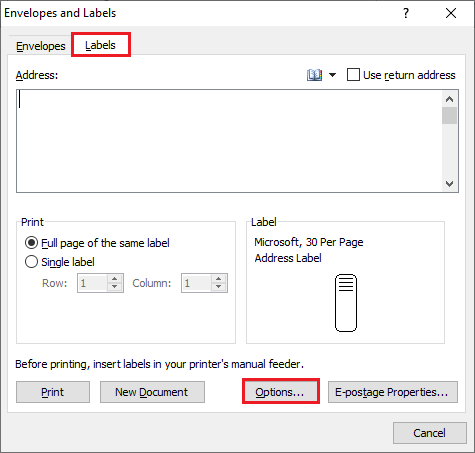
Step 3: An Envelopes and Labels dialog box will appear on the screen with the selected Labels tab. Click on the Options button at the bottom of the screen.
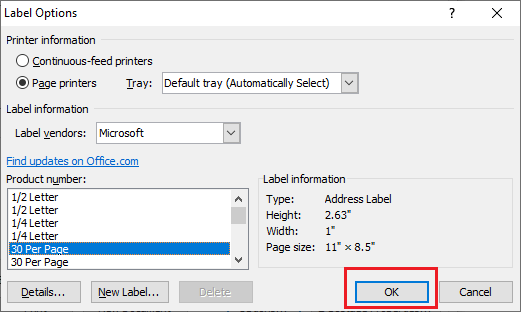
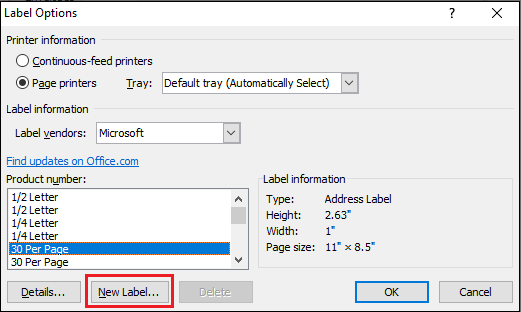
Step 4: Once you click on the Options tab, a label options dialog box will appear on the screen.
- Select the label brand from the Label Vendors.
- Select the Product number which matches with the label that you want to print on.
Now, you can see that label information will appear under the Label information section. If the provided information is correct, then click on the OK button at the bottom of the screen.
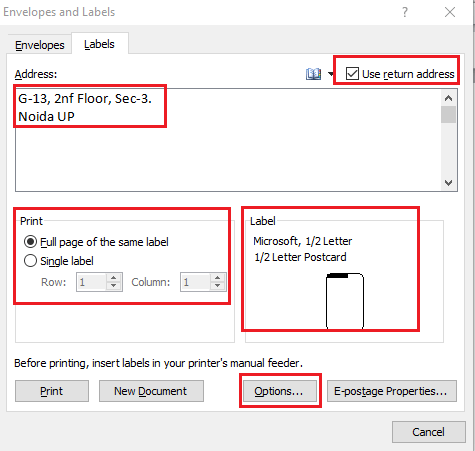
Step 5: Now, do the following:
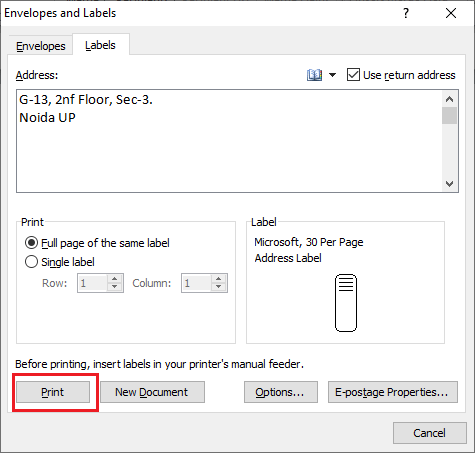
- Tick on the Use return address checkbox.
- In the Address text box, type the necessary information that you want to add in the label.
- In the Print section, click on the Full page of the same label. You can also click on the Single label radio button to specify the rows and columns.
- In the Label section provides a short description of your current label selection.
Step 6: Make sure your label is loaded. Once it is done, click on the Print button.
Method 2: Create a Page of Different Labels
Step 1: Open the Word document.
Step 2: Click on the Mailing tab on the ribbon and click on the Labels option under the Create group.
Step 3: An Envelops and Labels dialog box will appear on the screen in which click on the Options button at the bottom of the screen.
Step 4: A Label Options window will appear on the screen. Select the label brand from the Label Vendors and Select the Product number, which matches the label you want to print on. Click on the OK button at the bottom of the screen.
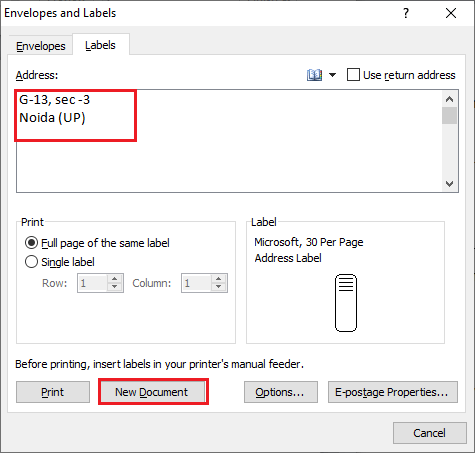
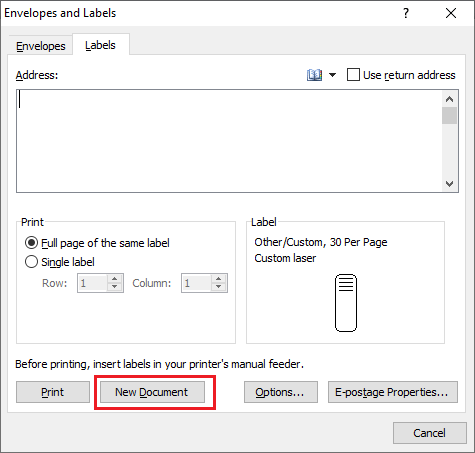
Step 5: Enter the Address details in the address bar and click on the New document button at the bottom of the screen.
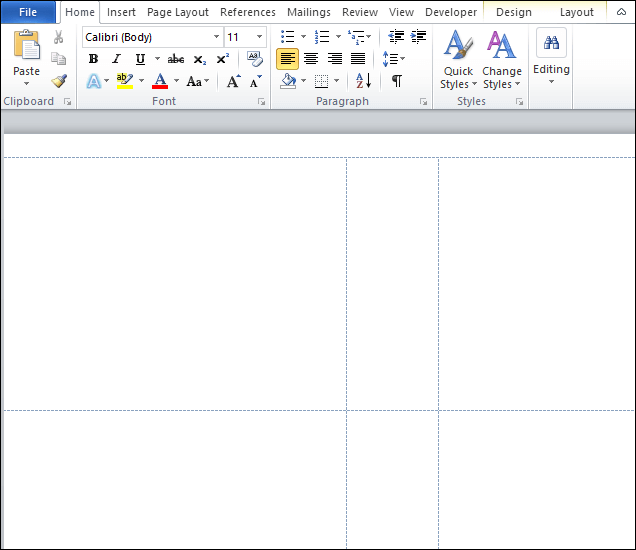
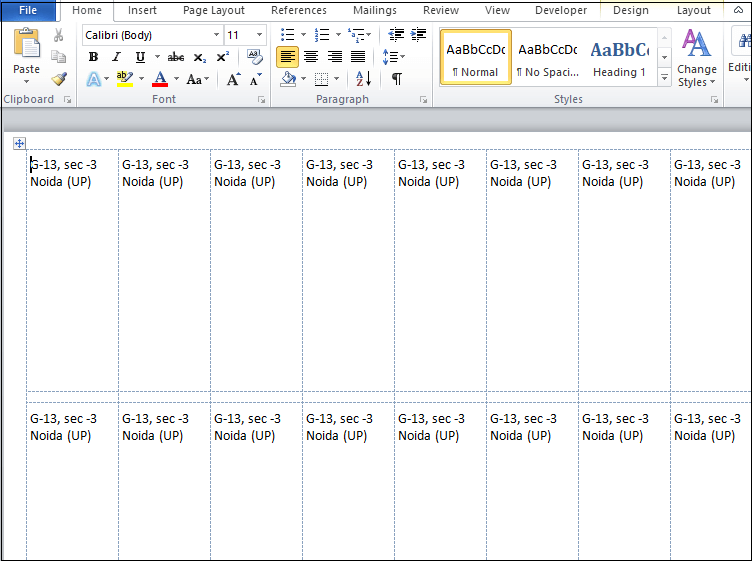
The below screenshot shows that labels with the addresses are created in the Word document.
Make Address bold and center
Once your label is created, you can also perform various tasks on it, such as make text bold, increase the font size, make the text in the center, and so on.
To do this, click on the icon associate with the labels, as shown in the screenshot below.
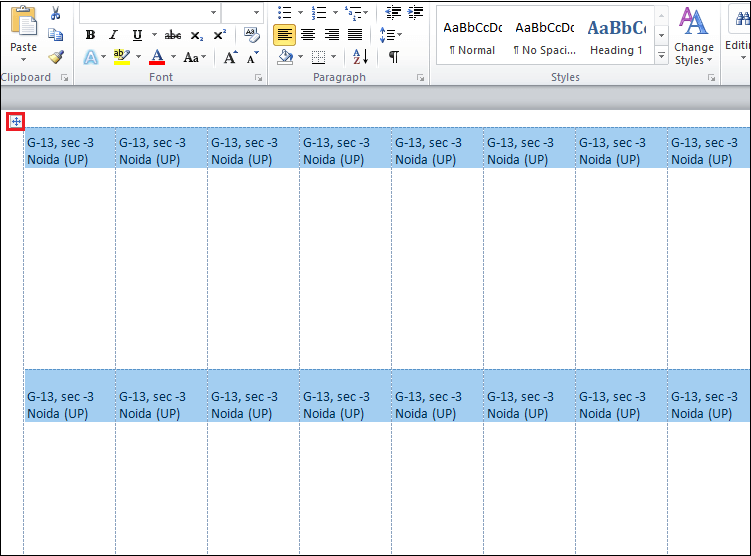
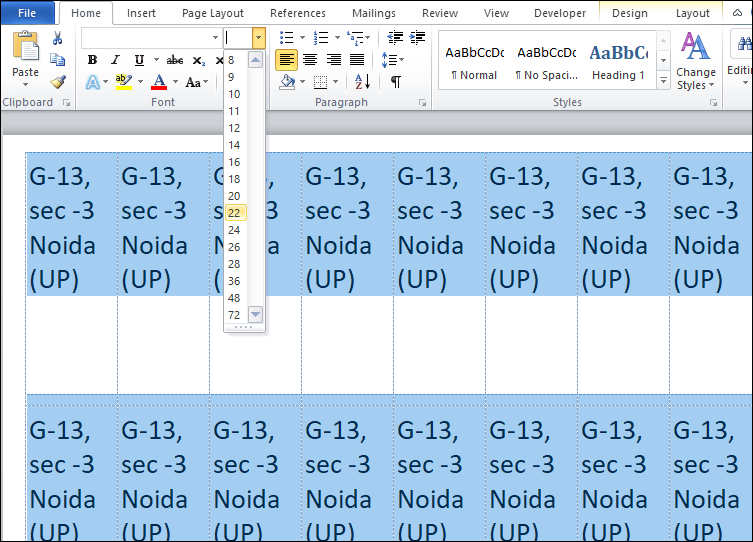
- Go to the Home tab and select the font size that we want to add in the labels.
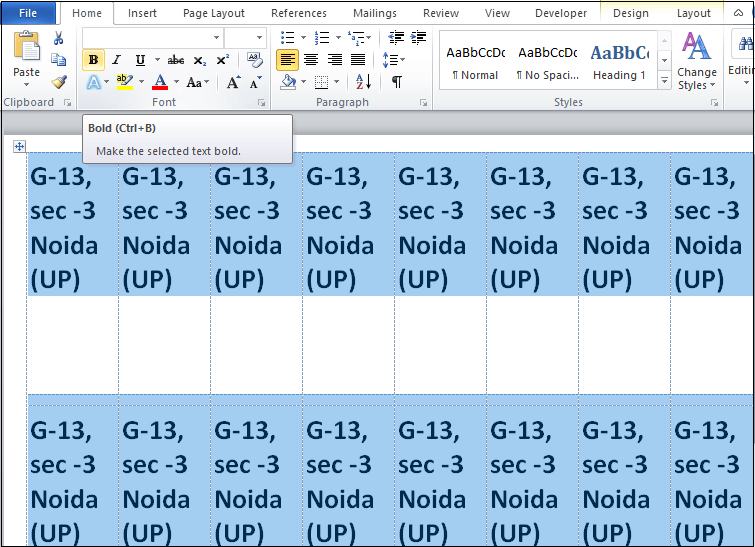
- Go to the Home tab and click on the B icon to make text bold.
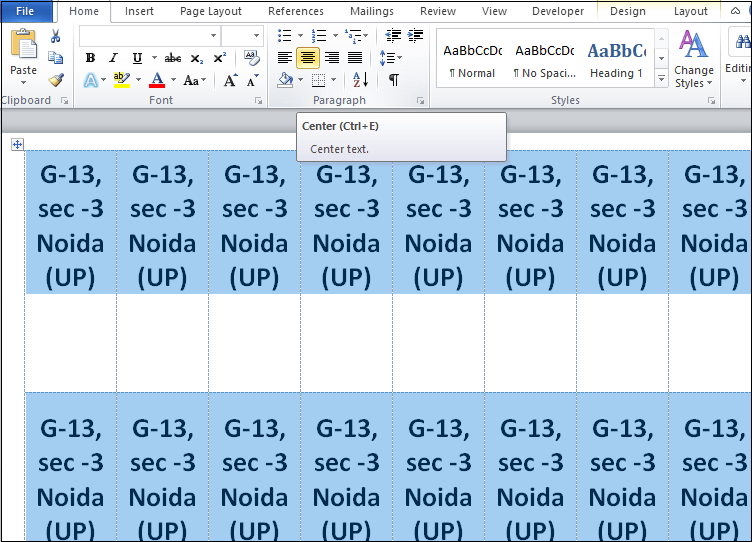
- Go to the Home tab and click on the Center button to make the label center.
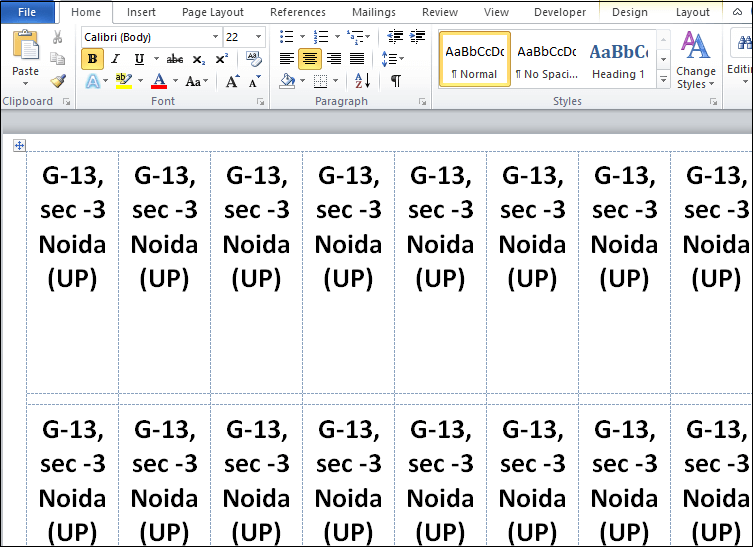
The below screenshot shows your labels by adding font, text, and bold operations.
Print and save the label
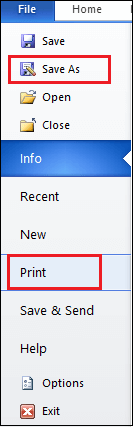
Once your label is created, you can print it. To print the label, click on the File tab, a list of file options appears on the screen in which click on the Print option.
You can also save this label document for further use. To save the document, click on the File and then click on the Save as Tab. Browse the location where you want to save, Enter the file name, and click on the Save button.
Method 3: Create a Custom Label in Word
There are the following steps to create a Custom Label in Word –
Step 1: Open the Word document.
Step 2: Click on the Mailing tab on the ribbon and click on the Labels option under the Create group.
Step 3: An Envelops and Labels dialog box will appear on the screen in which click on the Options button at the bottom of the screen.
Step 4: A Label Options window will appear on the screen, click on the New Label button.
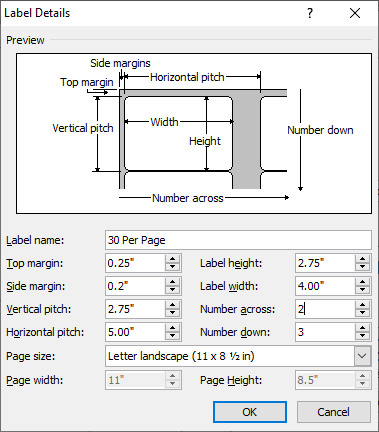
Step 5: A Label Details dialog box will appear on the screen in which provide the following information –
Label name: Type the label name and make sure that your page size is fixed.
Top margin: It is the space between the top of the label to the edge of the label sheet.
Side margin: The side margin is the space between edges of the label to the edge of the sheet.
Vertical pitch: It is the measurement from the top edge of a label to the top edge of the label underneath. It will also include the vertical size of the label and the vertical space between the next labels.
Horizontal pitch: It is used to measure the left edge of the label to the left edge of the label next to it. Horizontal pitch also includes the horizontal size of the label and horizontal space between the next labels.
Page size: It is the size of the page in which you create the label.
Label height: It is the distance from the top edge of the label to the bottom edge of the label.
Label width: Label width is the space between the left edge of the label to the right edge of labels.
Number across: Numbers across are found by counting the number of labels run across the sheet from the left to right
Number down: The number of down can be found by counting the number of the label that run vertically from the top of the sheet to the bottom of the sheet.
Once you fill all the information in the Label Details dialog box, click on the OK button, as shown in the below screenshot.
Step 6: Click on the OK button in the Label Options window.
Step 7: Click on the New development button in Envelopes and Labels dialog box.
The following window will appear on the screen in which you can design labels based on your requirement.