
How to add a checkbox in Word
In Microsoft Word, a checkbox is also known as a selection box, tick box, and check mark. It is a small box that is mainly used in the survey forms to make the option easier to read and answer.
A checkbox is also used to indicate the on/off state to a question or statement. For example, in the job application form, a statement is “I agreed with the above term and conditions.” If the applicant is agreed, then he/she tick on the checkbox, which implies “yes”, while the unchecked box implies “no”.
In Word, two types of checkboxes are available –
1. A non-clickable checkbox (not interactive)
A non-clickable checkbox does not allow you to check or uncheck the checkbox inside Word document. A developers tab is used to create a non-clickable checkbox in the Word document.
2. A clickable checkbox (Interactive)
A clickable checkbox (Interactive) allows users to check and uncheck the checkbox inside the word document. A bulleted list method is used to create the clickable checkbox in the Word document.
There are the following three easiest methods to add checkbox in Word document –
Note: Using the below methods, you can add a checkbox on Microsoft Word 2004, 2008, 2010, 2013, 2016, 2019, and Office 365.
Method 1: Using Word’s developer tool
Developer’s tool allows us to add a clickable checkbox in the word document.
There are the following steps to add checkboxes using the developer tool –
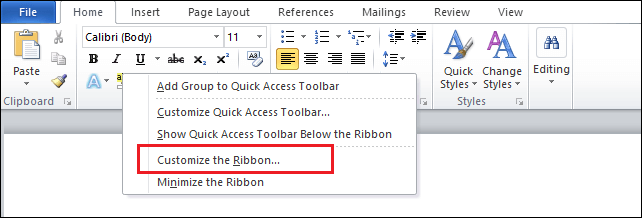
Step 1: Go to the Home tab, then Right-click on the empty spot on the ribbon, a pop-up window appears on the screen in which click on the Customize the Ribbon.
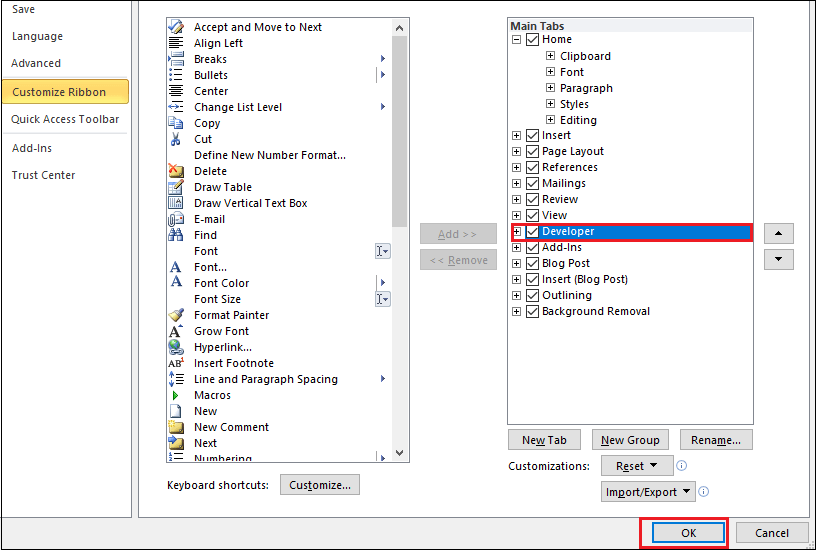
Step 2: The following window appears on the screen. Select Customize Ribbon tab in the left pane. Select main tabs from the Customize the Ribbon. Then Tick on the Developer option and click on the OK at the bottom of the screen.
Step 3: Now, you can see that the Developer Tab appears at the top of the screen.

Step 4: Place the cursor on the document where you want to add a checkbox. Go to the Developer tab and select Check Box Content Control from the Controls section.
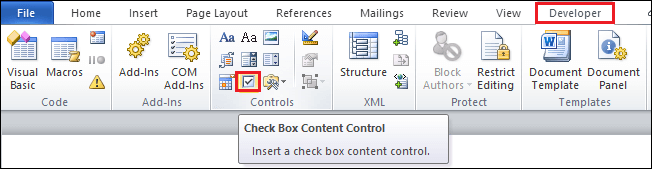
The below screenshot shows that checkbox is added in the Word.

Method 2: Using the Bulleted List
This method is used to create a checkbox for printing purposes. It allows readers to tick on the checkbox using the pen.
Follow the below steps to add checkbox using Bullets tab –
Step 1: Open the Word document where you want to add a checkbox.
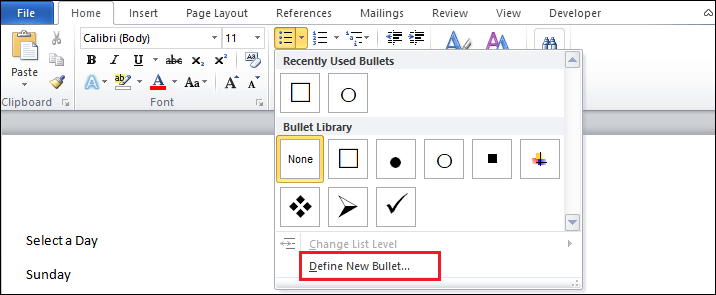
Step 2: Go to the Home tab and click on a small drop-down arrow next to the Bullet Tab under the Paragraph section.
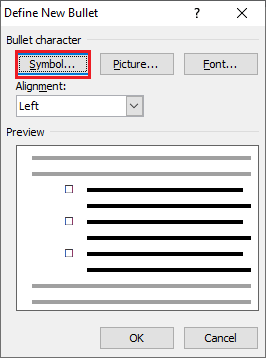
Step 3: A recently used Bullet window appears on the screen in which click on the Define New Bullet.
Step 4: A small Define New Bullet window appears, click on the Symbol tab.
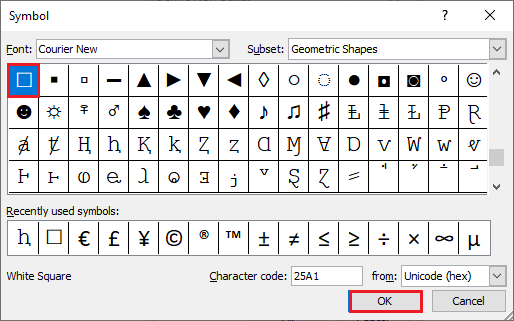
Step 5: A Symbol window pop up, select the checkbox symbol, and click on the OK button.
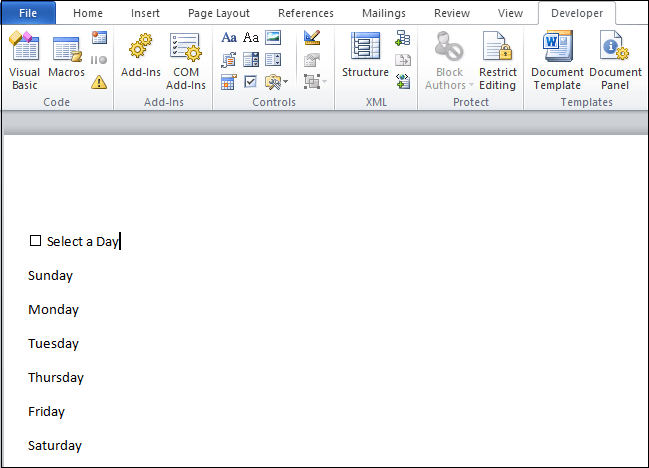
The below screenshot shows that checkbox is added in the Word document.
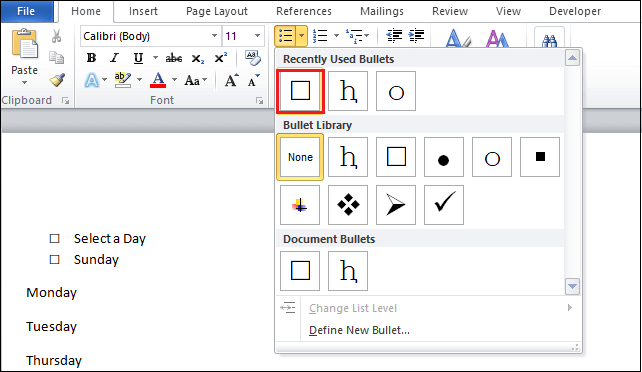
Now, if you want to add more checkboxes, simply click on the Bullets tab from the paragraph section. A recently used bullets window appears, click on the checkbox as shown in the below screenshot.
Method 3: Using Insert Tab
Step 1: Place the cursor where you want to add a checkbox.
Step 2: Go to the Insert Tab and select Symbols.

Step 3: Select the checkbox symbol, as shown in the below screenshot.
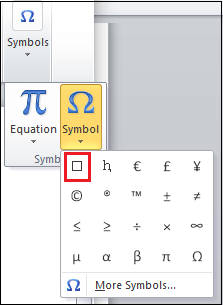
Note: If you are unable to see a checkbox, click on the More Symbols and follow step 5 mentioned in Method 2.


