
Watermark in Excel
MS Excel, or Microsoft Excel, is a powerful spreadsheet software tool with various distinct features. Excel is widely used for reporting and many other purposes by individuals or organizations due to its impressive features. Although Excel has a wide range of features, it lacks a direct option to add a watermark in a spreadsheet. MS Excel does not include an inbuilt watermark tile in the toolbar. However, there are some alternate methods.
Before we discuss the process for adding watermark in Excel, let us first discuss the introduction of watermark and the advantages of using it in Excel.
What is the watermark in Excel?
By definition, Watermarking refers to a process of adding an image, overlay, or text over any digital assets. The object added on assets is called a watermark.
Generally, watermarks are basic text or images with the light shades that we most commonly see in Word documents and PDFs. Similarly, we can insert watermarks in Excel files. A watermark is typically placed in the background so that the content does not overlap. More specifically, the watermark image/ text is placed in a monochromatic and transparent format, allowing others to view the asset’s content (data from digital files). Some of the most commonly used watermarks include Confidential, Draft, Sample, etc. Besides, most companies prefer using their company logo or name as watermarks to claim their work.
The following is the sample image displaying a basic watermark in Excel:

Advantages of the Watermark in Excel
The following are the advantages of using the watermark in Excel:
- Content Theft: The Internet has made sharing digital data so easy. Putting the watermark in Excel files somewhat prevents others from using it for their profit. Watermarks reduce the chances of content theft and can prevent it completely if used properly.
- Unauthorized Use and Distributions: Watermarks are sometimes used to indicate that the data is not ready to share or still under production. In such cases, most companies use the text ‘Draft’ as a watermark that typically proclaims that it is not yet ready to share publicly, only meant for internal use.
- Claiming Ownership: Putting the watermark in original work helps individuals or organizations to claim ownership for the content.
- Promotion: If a watermark is used properly in files, sharing them can promote the brand and inform users regarding the actual source of files. This eventually helps organizations to utilize their assets towards revenue.
Inserting a Simple Watermark in Excel
As we said earlier that there is no direct option of using a watermark in Excel; therefore, we need to use alternate methods to use a watermark in Excel. One easy method is to create a watermark using Excel itself. This is one of the basic methods to create/use/implement a watermark in Excel. According to this method, we can use the WordArt option in Excel to use it as a watermark.
The following are the main steps to create a simple watermark in Excel using WordArt:
- First, we need to open an existing or a new excel worksheet and then navigate the Text group from the ‘Insert‘ tab in an Excel toolbar.
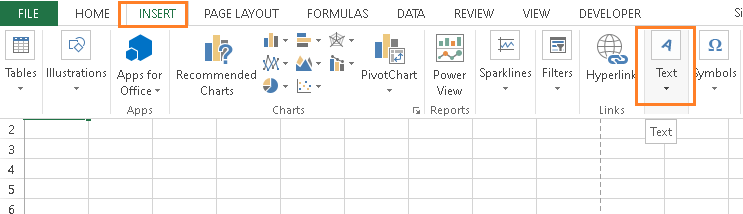
- On the next screen, we are required to select the option ‘WordArt‘.
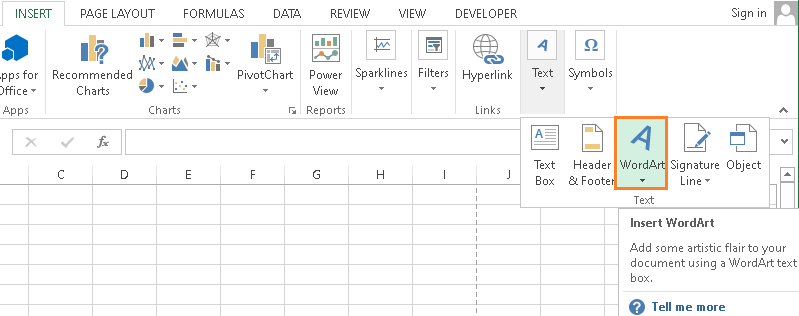
- After clicking on the ‘WordArt’, we will get various styles, and we need to select any of the suitable styles.
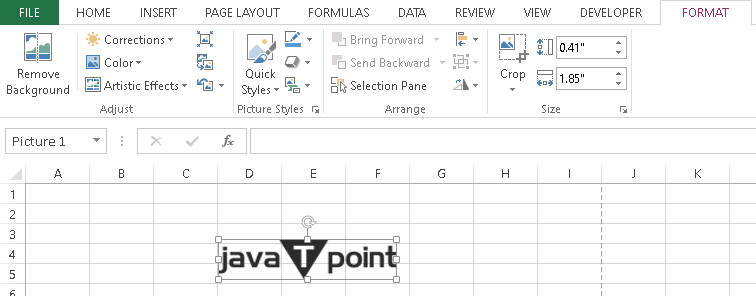
- Next, we need to type the watermark (text) that we want to use in Excel.

- After that, a watermark will be added to Excel. However, we may need to modify some settings to make it look more attractive. To do this, we need to adjust some of the formatting options for the WordArt. All the formatting options can be managed from the ‘Format’ tab.

We need to use a light color for the text so that a watermark and the content in Excel cells remain visible. Also, we should not fill color inside the text and make the background of the WordArt object entirely clear. We can also rotate the created watermark accordingly.

That is how we can insert any custom text as a watermark in Excel.
Inserting the Watermark as a Background in Excel
Another method for inserting a watermark in Excel includes a background image. Once we have chosen the watermark (image) to be used, we can easily insert it in Excel using the following steps:
- First, we need to launch/open an Excel file using MS Excel software. After that, we must navigate to the ‘Image‘ option from the ‘Insert‘ tab.

- After clicking on the ‘Insert’ button, we need to select a specific watermark image we have created earlier. Once the image is selected, it will be imported in Excel as a background image.
We can resize, rotate and adjust other settings for the background image accordingly. This alternate method is one of the easiest methods to use watermark in Excel.
Inserting the Watermark to the Header/Footer in Excel
Inserting the watermark typically refers to inserting an image in Excel and use as the watermark. We can create any custom watermark using MS Paint or any other drawing software and save it as an image file (i.e., PNG, JPEG, etc.). This image can be inserted as a watermark. However, this method is mainly used to add a watermark (image) to the header and footer. To use the watermark to header/footer in Excel, we need to follow the steps given below:
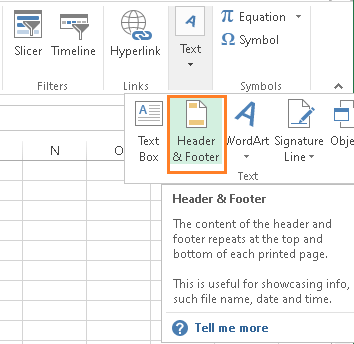
- Once we have created our watermark image, we need to follow the next step to navigate to Insert > Header & Footer from the Text group.
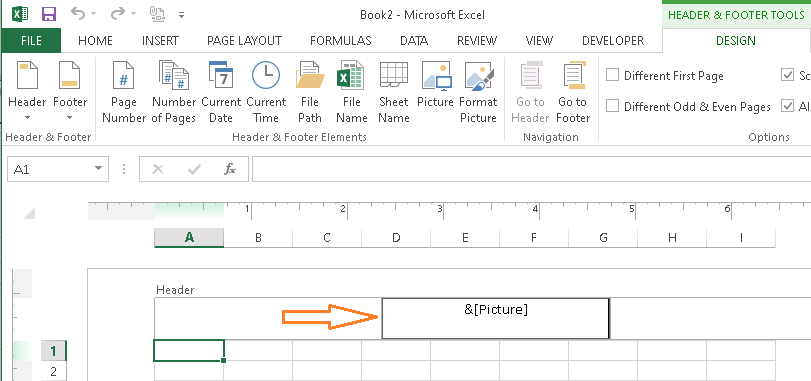
- After clicking on Header & Footer, the worksheet view changes to the Page Layout view, and a new header and the footer appear on the top and the bottom, respectively. After that, we need to navigate the ‘Header & Footer Tools‘ tab from the top ribbon and click on the ‘Picture‘ icon.
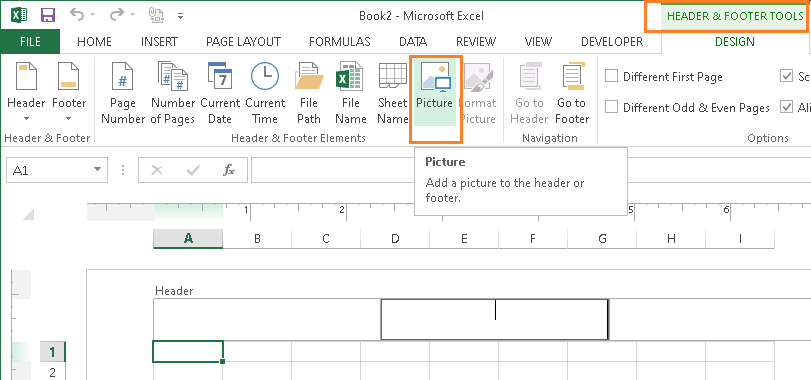
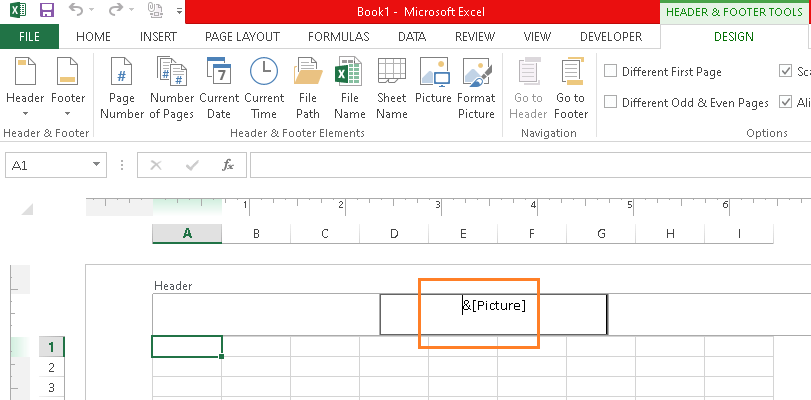
- After clicking on the Picture icon, a new insert pictures window opens. Here, we need to select the watermark image that we have created earlier. We can use the ‘Browse‘ feature to find the particular image from the local storage. This typically displays the text &[Picture] in the header box once the image is selected. This mainly means that the header has the image. Similarly, we can click on the footer and then insert a watermark image to add an image in the footer box in Excel.

We can click on any cell to display the watermark image. The watermark is added to a header on each page of the worksheet.

This method only inserts watermark (image formats) to the header and footer of the worksheet.
Note: The watermark added to a header or footer remains visible only in the Page Layout view or when we check print preview or take prints. In normal view, the watermark remains in the worksheet, but it does not display. However, it will be printed when we print a particular worksheet. We need to insert a watermark in each worksheet of the spreadsheet to add it to each sheet.
Editing Graphics properties for Watermarks
Although inserting an image watermark to a header or footer is quite simple, it may not sometimes look attractive without the proper formatting. Therefore, editing graphics properties can be beneficial to make a watermark look more attractive and effective. This mainly includes the followings:
Repositioning the Watermark in Excel
By default, an image watermark is added on the top of the worksheet as it is the place where a header resides. However, this may not look great to most people. This eventually creates a requirement to reposition a watermark to the center or any other place within the worksheet. The following steps can be followed to change the position of the watermark in Excel:
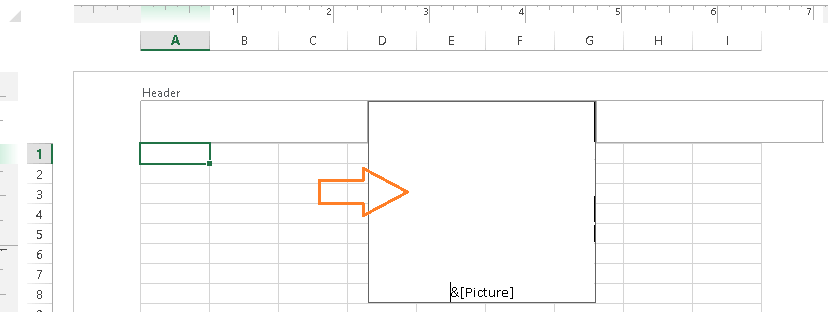
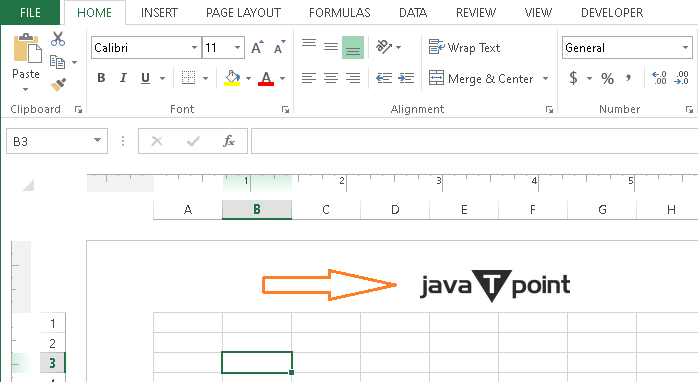
- First, we need to click on the header section box in the Page Layout view. Next, we need to place a mouse cursor before the text &[Picture] that has arrived after we have inserted a watermark image.
- After that, we can press the ‘Enter‘ button from the keyword, and the text (referring to image watermark) will shift to the bottom step or next line. We can press the Enter button many times to get the watermark in the center position of the worksheet. This generally looks like the following image:
- Once we have repositioned an image in a center, we can press a ‘Tab’ button or click on any cell to display the image in the center of a worksheet as a watermark.

Apart from this, we can also reposition an image watermark within the header sections. Typically, a header section is divided into three boxes (LEFT, RIGHT, CENTER). We can click on any of the three boxes and then insert the image watermark as the above procedure to position it in a left, right, or center accordingly.
Resizing or Scaling the Watermark
When we insert an image as a watermark, the image displays the original dimensions within the Excel worksheet. In case the dimensions are unnecessarily big or small, the watermark may look odd. However, we can resize the watermark dimensions to make a watermark look clear and more meaningful.
The following steps can be used to resize the watermark after it is inserted in Excel:
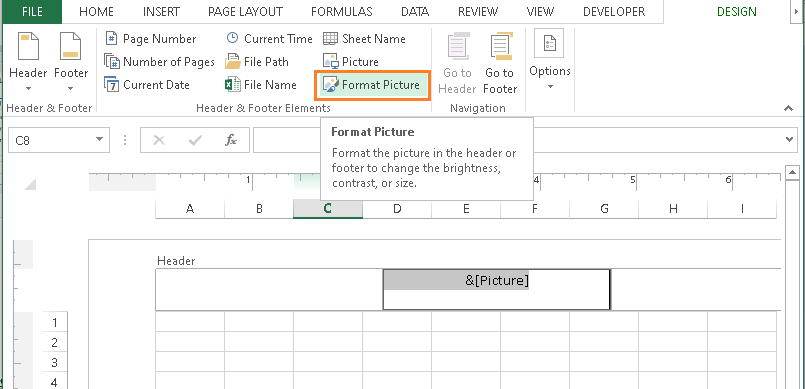
- First, we need to click on the box in a header/footer where an image watermark is inserted.

- Next, we need to navigate to the Header & Footer Tools > Design > Format Picture from the toolbar.

- After completing the previous step, we will get the Format Picture Dialogue window. Here, we can easily change the dimensions (heights and Width) or scaling in the image watermark from the ‘Size‘ tab. Once all the changes have been made, we can click on the ‘OK‘ button to save the changes accordingly.
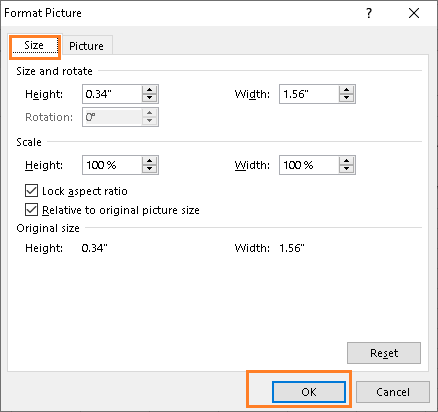
It is recommended to adjust the size of the image when creating it to be used as a watermark. This will provide a better quality watermark in Excel. Later resizing or scaling the watermark using Excel settings can sometimes reduce the quality of the watermark.
Setting a Brightness and Contrast for the Watermark
Excel also allows us to modify or change the various properties (such as color, brightness, contrast, etc.) of the image watermark from within the Excel software. This feature sometimes helps us to make an image more attractive. To modify such properties, we need to follow the steps given below:
- First, we need to click on the box in a header/footer where an image watermark is inserted.

- Next, we need to navigate to the Header & Footer Tools > Design > Format Picture from the toolbar.
- After completing the previous step, we will get the Format Picture Dialogue window. Here, we can easily change the brightness, contrast, and some other properties of the image watermark from the ‘Picture‘ tab. Once all the changes have been made, we can click on the ‘OK‘ button to save the changes accordingly.
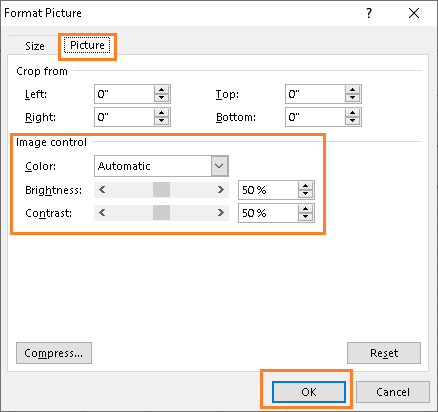
It is recommended to adjust the color, brightness, contrast, and other properties of the image watermark when creating it. This will provide a better quality watermark in Excel. This is because later modifying the image properties using Excel settings can sometimes reduce the quality of the image watermark.
Editing & Replacing the Watermark
We can adjust or edit some of the basic properties for the watermark image using the Excel inbuilt features as discussed above. Additionally, we can replace the existing watermark with a new one. In case the previous (existing) watermark image is not looking good, we do not need to remove it. We can create a new watermark image and insert the new one using the same procedure we discussed above.
For instance, suppose we have a watermark image in a header already. We will see a text &[Picture] in a header. To replace this image (picture), we need to select a specific box and navigate to the Header & Footer Tools > Design > Picture. Then, we can select a new image for the watermark.
When we try to insert a new image, a new window appears, asking us whether we want to replace the existing image.

Here, we can select to replace or keep the image accordingly. Once we click on the ‘Replace’ button, we can insert a new picture as the watermark.
Removing the Watermark
Instead of editing the watermark in Excel, we may sometimes need to remove the watermark completely. The watermark in excel is not as easy to remove because other programs typically contain a separate watermark feature which Excel lacks. This particular feature in other programs typically helps perform various tasks relative to a watermark, including the insert, edit and remove. Since there is no such feature in Excel, we need to manually remove a watermark by reverting the process we followed earlier to insert the watermark.
- To remove a watermark inserted into a header or a footer, we need to click on the header/footer box where a watermark is added.
- Next, we need to remove the text &[Picture] from the header/footer.
- We can then click on any cell or press the ‘Tab’ button from the keyboard to check whether the watermark is removed or not.
It is important to note that the watermark is only displayed in the Page Layout view, so we must change the normal view to the Page Layout view. Additionally, we must have admin permission to access and modify the file settings.
Apart from this, watermarks added using other methods (such as WordArt or Background Image) can be removed by selecting them and pressing the ‘Delete’ button from the keyboard.


