
Excel Header and Footer
In MS-Excel, we may add headers and footers to the top and bottom of a printed worksheet. For example, if we want to create an excel file, we may include page numbers, the date, and the name of our file in the footer.
To make our printed Excel documents professional and attractive, we can include a header or footer on each page of our worksheet. Headers & footers frequently contain basic spreadsheet information like the page number, date, file path, workbook name, etc. Microsoft Excel has several headers and footers to choose from and allows it to create its own.
The Headers & Footers mainly displayed on the printed pages, Page Layout views, and Print previews. These are not displayed in the standard excel worksheet view. In this article, we are going to discuss how we may add the header and footer to the Excel Worksheet.
How to Add the header in Excel?
Here, we are going to discuss how we may add the header in the Excel worksheet. There are various steps that we may take for doing this, as shown below:
Step 1: Firstly, we are required to go to the insert option and then select the text group. After that, select the Header & Footer option. It will switch the excel worksheet to the Page Layout view.

Step 2: Here, we may type the text, add an image, and insert a preset header in any of the three Header boxes that show at the top of the excel worksheet. In the three Header boxes, the central box is selected by default. We may also choose the header boxes according to the requirement.

Step 3: After completing this process, click anywhere in the Excel worksheet to leave the header. If we want to exit the header box without any changes, click on the Esc button.
When we take the printout of the worksheet, the header would be repeated on each page of the worksheet.
How to Add the Footer in the Excel Worksheet?
Here, we are going to discuss that how we may add the footer to the Excel Worksheet. There are various steps that we may use to doing this, as shown below:
Step 1: Firstly, we are required to go to the insert option and then select the text group. After that, select the Header & Footer option. It will switch the excel worksheet to the Page Layout view.
Step 2: Now, we go to the design option and click on the Go to Footer option. After that, scroll the page to the footer boxes at the bottom of the page.
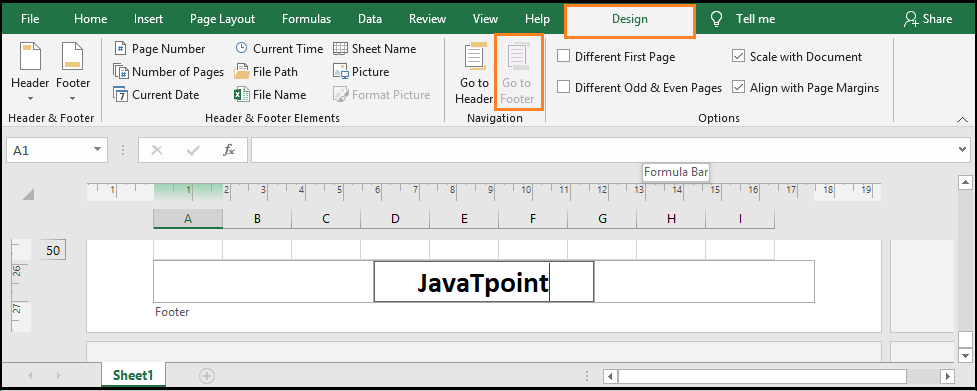
Step 3: Now, we may choose the desired place, click the left, center, and right-footer box, and type some text or add the element that we want.
Step 4: After completing this process, click anywhere in the Excel worksheet to leave the footer. If we want to exit the footer box without any changes, click on the Esc button.
How to add a preset header and footer in the Excel worksheet?
Microsoft Excel has several built-in headers and footers that may be easily put into the document with a single mouse click. Here, we are going to discuss how we may add a preset of the header and footer in the Excel worksheet. There are various steps that we may use to doing this, as shown below:
Step 1: Firstly, we are required to go to the insert option and select the Text group option. After that, select the Header & Footer option. It will switch the excel worksheet to the Page Layout view.
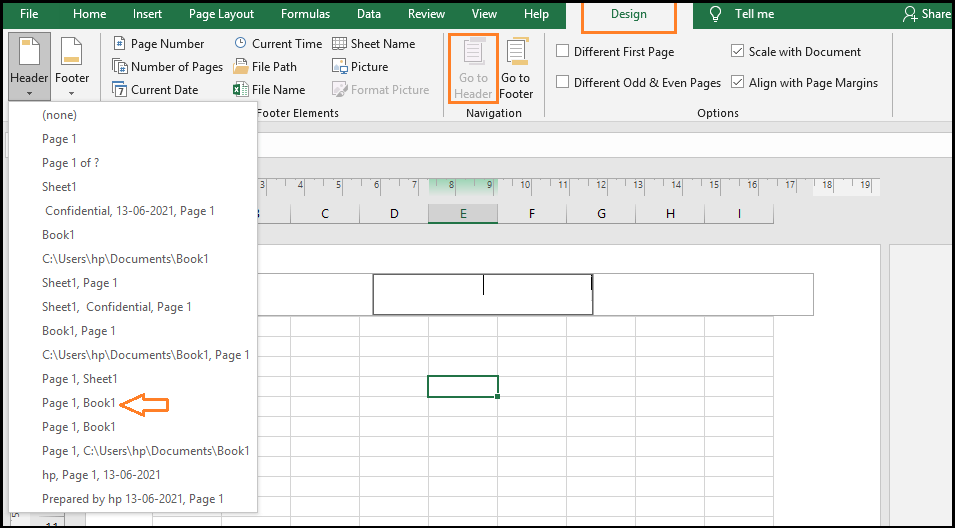
Step 2: Now, we go to the Design option and select the Header & Footer button, and select the preset header & footer.
Step 3: After completing this process, click anywhere in the Excel worksheet to leave the footer. If we want to exit the footer box without any changes, click on the Esc button.
Add headers and footers using the page setup dialog box
Use the Page Setup dialog box to add a header or footer to an excel chart sheet or multiple worksheets at once. There are various steps that we may use to doing this method, as shown below:
Step 1: Firstly, we are required to choose one or more worksheets for which we want to create a header & footer. After that, hold down the Ctrl key while clicking the sheet tabs to choose multiple sheets.
Step 2: Now, go to the Page Layout option and then go to the page setup group. After that, click on the Dialog box launcher.

Step 3: At the end, the Page Setup dialog box will appear and allow us to choose the preset headers & footers or create our own.
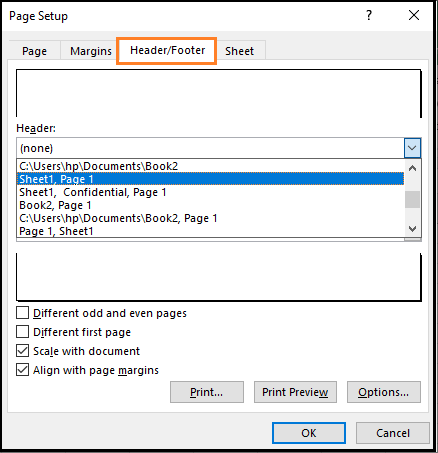
For example, if we want to insert a preset, click on the drop-down menu arrow in the header and footer box and select from the available option.
How to make a custom header and footer in Excel
We can add pre-made headers and footers in Excel worksheets and create our own with custom text and graphics. Here, we will discuss how we make a custom header and footer in Excel.
As usual, begin by selecting the Header & Footer option from the Insert tab. After that, click the boxes at the header or footer of the excel worksheet and then text the content there. Alternatively, we may enter data by choosing one of the built-in elements from the Header & Footer Elements category on the Design menu.
Let’s take an example to understand how we may create a custom header and footer with the page numbers, current date, company logo, and file name. There are various steps that we may use to doing this method, as shown below:
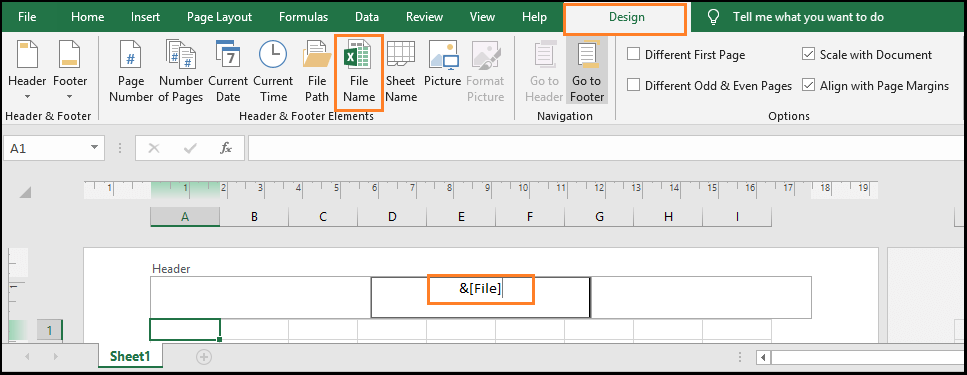
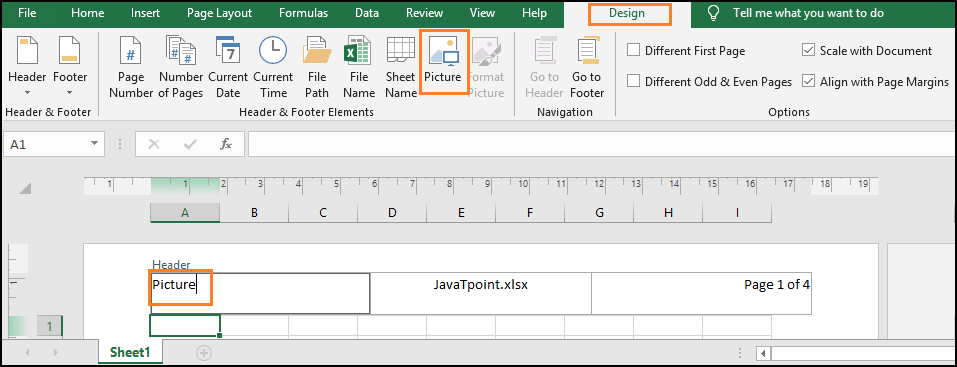
Step 1: Firstly, we are required to insert the file name in the central header box.
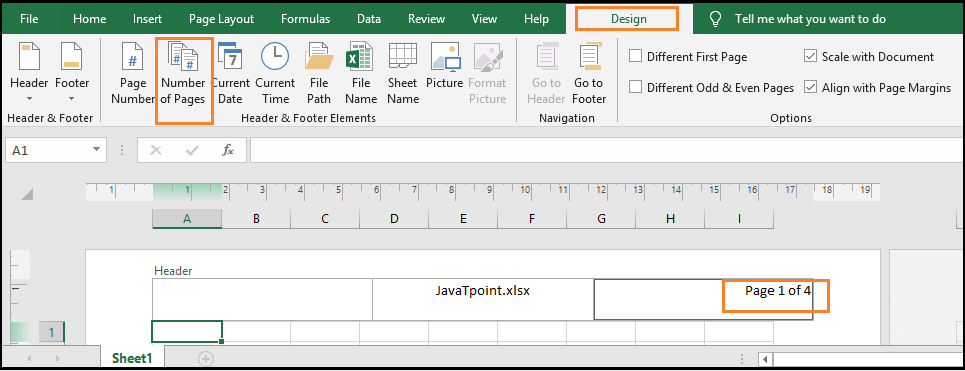
Step 2: Now, select the right box and there click on the page number options.

Step 3: We may also add the Number of Pages component to the same box by choosing the corresponding button on the ribbon and typing “of” in-between the codes so that the Excel header reads “Page 1 of 4”.
Step 4: At the end, add the complete logo in the left box. To do so, go to the Picture tab, choose the image file, and then click Insert.
How to edit the header and footer in Excel
Here, we will discuss how we may edit the header and footer in Excel. There are two methods to edit the header and footer in excel that is “Page Layout View” and “Page Setup Dialog”.
Method 1: Change the header and footer in Page Layout View
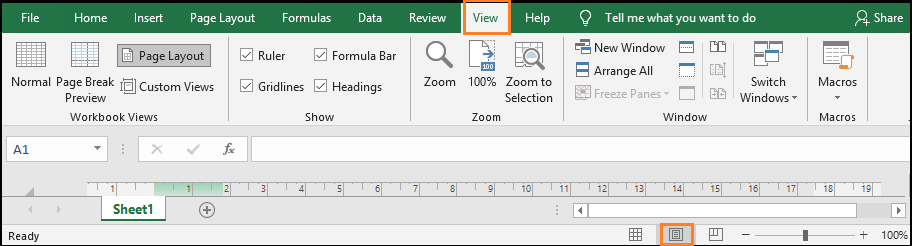
Step 1: Firstly, go to the View option to switch to the Page Layout View. After that, go to the Workbook Views group option and then click on the Page Layout option.

Step 2: Now, click on the Page Layout option displayed on the status bar of the Excel worksheet’s bottom-right corner.
Here, we may choose the header & footer text box and make the change that we needed.
Method 2: Change the header and footer in the Page Setup Dialog
The Page Setup dialog box can also be used to change an Excel header & footer. Please keep in mind that only the header and footer of chart sheets can be altered in this method.
How to remove header and Footer in Excel worksheet
Here, we are going to discuss how we may remove the header and footer in Excel Worksheet. If we want to remove the header and footer from the excel worksheet, go to the Page Layout View option. After that, click on the header & footer text box, and use the Delete or Backspace key.
Use the steps below to remove the headers and footers from different worksheets at once:
Step 1: Firstly, select the worksheet from which we want to remove a header and footer.
Step 2: Now, we need to open the Page Setup Dialog box (Page Layout -> Page Setup -> Dialog Box).
Step 3: Now, click the drop-down menu in the Page Setup Dialog box to access the preset header & footer and select none.
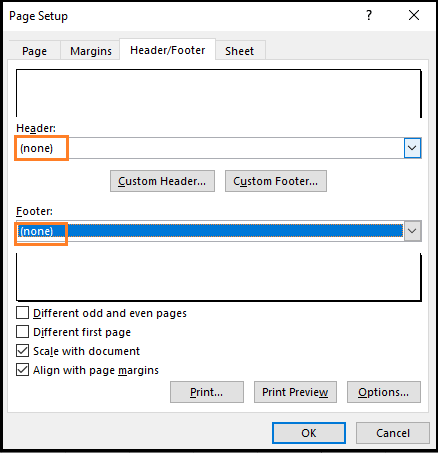
Step 4: At the end, click the ok button to close the Page Setup dialog box.
How to close header and footer in Excel
We must exit the header and footer view and return to the main view once we have completed making or updating the excel header and footer. Use the following steps for doing this:
Step 1: Firstly, go to the view tab and choose the workbook view group.
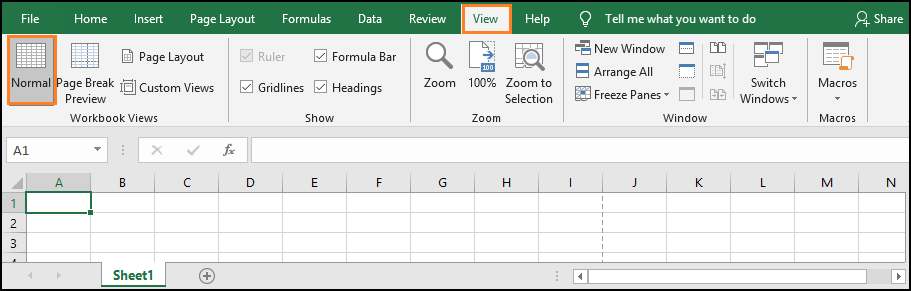
Step 2: After that, click on the Normal option that appears on the status bar of the excel worksheet.
How to make a different header or footer for the First page of the Excel worksheet
The following steps can be used to add a specified header or footer to the first page of an excel worksheet:
Step 1: Firstly, we are required to go to the insert option and then select the text group. After that, select the Header & Footer option. It will switch the excel worksheet to the Page Layout view.
Step 2: Now, we need to choose the header & footer option.
Step 3: Go to the Design tab, check the Different First Page box, and select this option.

Step 4: At the end, set up the specific header and footer for the first page of the excel worksheet.
Other Header and Footer options
When we choose a header or footer in Page Layout view, the Header & Footer -> Design -> Choices group offers buttons to define additional options.
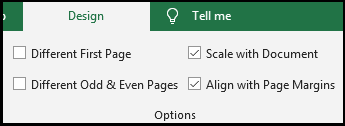
1.Different First Page
We may check this box if we want to use a different header or footer on the first printed page.
2.Different Odd & Even Pages
If we wish to utilize a different header or footer on a first printed page, check this box.
3.Scale with Document
If we have chosen this option, it will allow us to modify the font size of the header & footer. As a result, when we will print the document, it will be scaled.
4.Align with Page Margins
If we have chosen this option, it will allow us to align the left header & footer to the left margin and the right header & footer to the right margin.


