
Email Workbook
Excel is one of the most powerful spreadsheet software with an extensive range of features and functions. We often use Excel to organize our data, either small or large data sets. When we are working on any team project, and we need to send a workbook to other users or the manager, email is the most common method. We can easily email a workbook after finishing the work or whenever needed for any reason.
When emailing a workbook, we often use our email client’s (such as Gmail, Yahoo, Outlook, etc.) web application via a browser. We first fill in the recipient’s email address, type the subject, create an email body, attach a workbook using the file explorer, and then send it. It is the traditional way of sending a workbook over email. However, there are some other methods that can be even more helpful and save time when emailing a workbook.
In this article, we discuss some alternate methods to send our current workbook to specific persons quickly. We discuss step-by-step tutorials on each particular method that will help us understand the entire process easier.
How to email a workbook through Excel?
Excel has a wide range of built-in features. The best part of using Excel features is that we can use almost every feature in multiple ways. Likewise, it provides several ways to email a workbook or sends a workbook as an attachment.
Following are some quick and easy methods to send the desired workbook over email:
- Email a Workbook from within the Excel using Save & Send
- Email a Workbook from within the Excel using the VBA Code
- Email a Workbook using the shortcut from Quick Access Toolbar
Before using any of the above methods, we need to configure an email client on our device and set it as a default email client. Throughout this article, we use Outlook, an email client by Microsoft, found in Windows devices by default.
Let us now discuss each method in detail:
Method 1: Email a Workbook from within the Excel using Save & Send
The Save & Send command in Excel is the common method to email a workbook from within Excel. Excel allows us to quickly send the entire workbook as an attachment, PDF, XPS, or a Fax using the default email client.
We need to perform the following steps to email a workbook using the Save & Send command in Excel:
- First, we need to open a workbook that we wish to email to someone.
- Next, we need to click the File tab, select the option ‘Save & Send’.

It will further display other sharing options. We need to click the option ‘Send Using E-mail’, as shown in the image below:
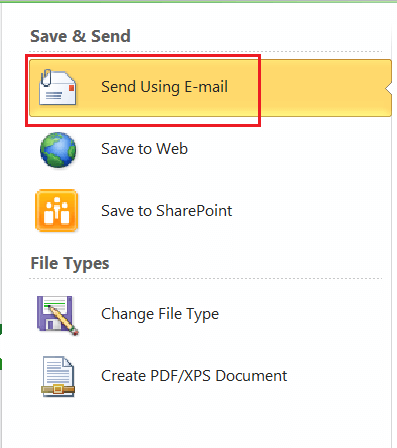
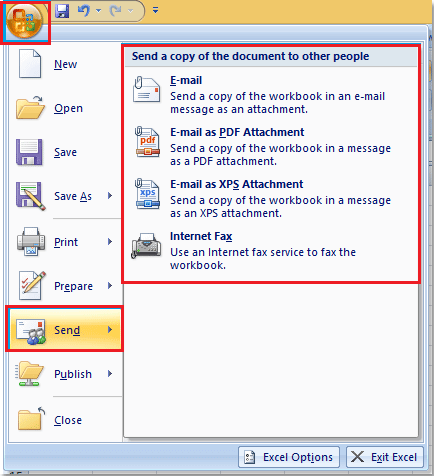
The above image is taken from Excel 2010. For Excel 2007, we must click the Office button and then the Send button.
In Excel 2013 and above versions, we need to go to File > Share > Email.
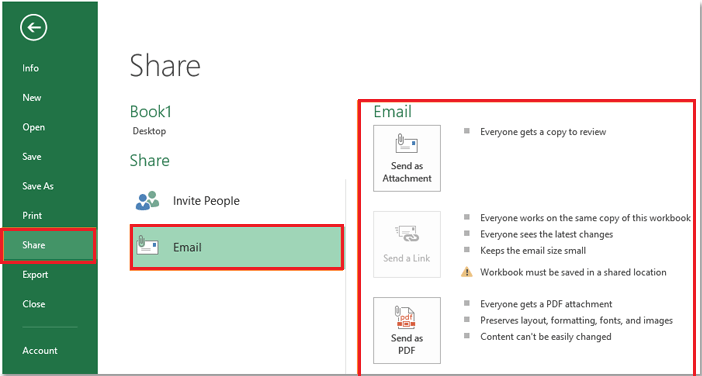
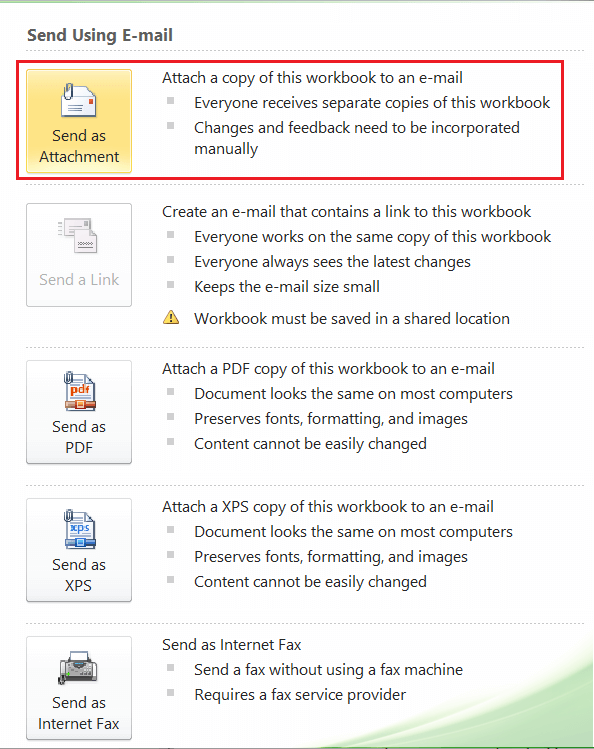
- In the next window, we will get the relevant options, as displayed in the following image:
Since we want to email a workbook to other people, we need to select the block that says ‘Send as Attachment’.
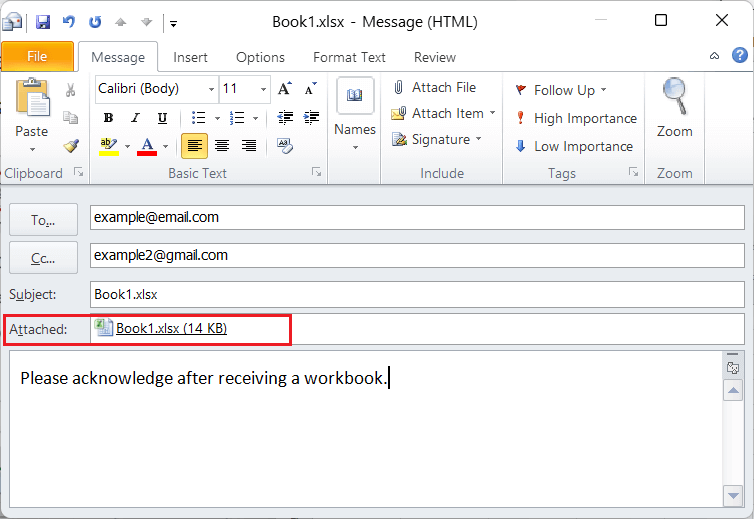
- After completing the previous step, Excel will launch an Outlook window. Using the Outlook window, we can specify recipients’ names into the boxes next to the texts ‘To’ and ‘Cc’. Also, we can enter any desired subject, type some message in the introduction box. The workbook will be automatically attached to it.

- After putting all the required details, we must click the Send button to email an attached workbook and the message to selected recipients.
In this way, we can email a current workbook without leaving MS Excel.
Method 2: Email a Workbook from within Excel using the VBA Code
VBA is one of the powerful elements of Excel. It allows us to use various advanced tools and options using the coding within Excel. In this way, we can use some specific code to send the current workbook as an attachment
We need to perform the following steps to send a current workbook through Outlook as an attachment using the VBA code within Excel:
- First, we need to open a workbook that we want to email.
- Next, we need to open the Microsoft Visual Basic editor to insert the code to run. For this, we need to use the keyboard shortcut Alt + F11. After pressing the shortcut keys, we will get the VBA for the applications window, as shown below:
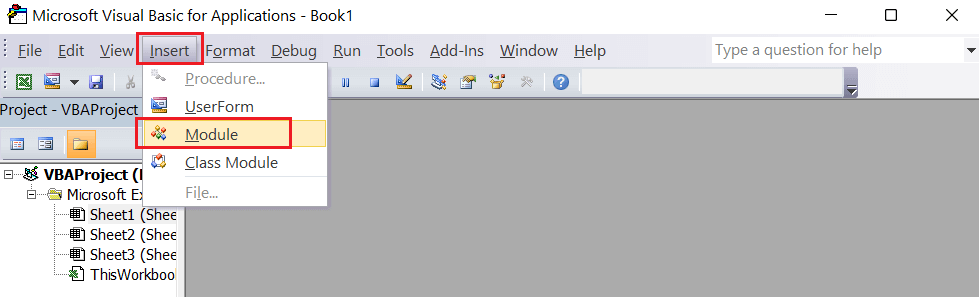
- We need to click the Insert tab in the VBA for the applications window and select the ‘Module’ option.
- After completing the previous step, we will get the VBA editor window where we must paste the following code:
The above code will look like the following image:
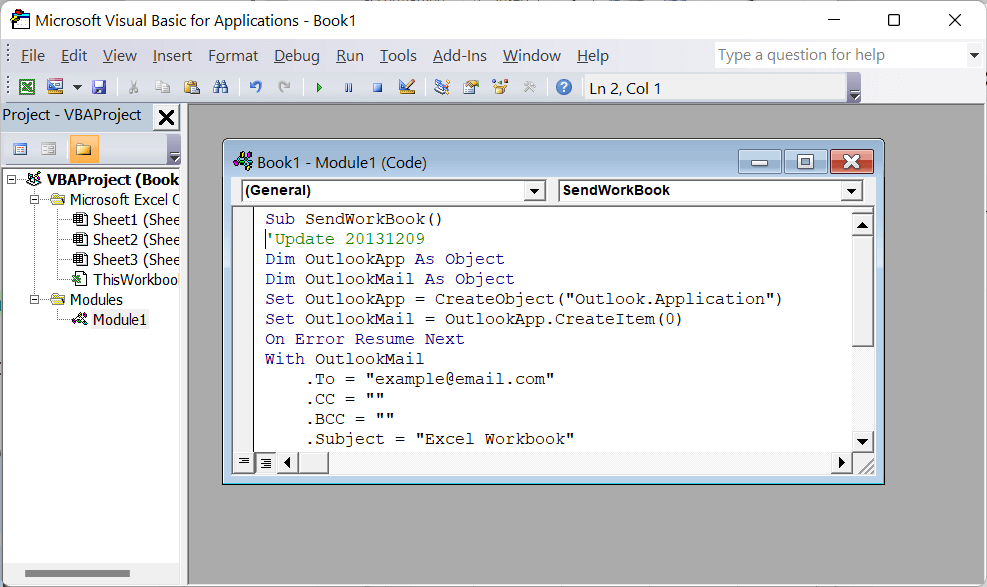
In the above code, we can change the following lines accordingly.
.To = “[email protected]“
.CC = “”
.BCC = “”
.Subject = “Excel Workbook”
.Body = “Please acknowledge after receiving the workbook”
- After copying and modifying the code, we need to run this code to email a current workbook. We must press the F5 key on the keyboard, which will instantly run the code we copied within the editor. As soon as we run the code, Outlook will again ask for confirmation. We must click the Allow button to email a current workbook to a recipient specified within the code.

In this way, we can email a current workbook using the VBA code without leaving MS Excel.
Method 3: Email a Workbook using the shortcut from Quick Access Toolbar
The Quick Access Toolbar (QAT) is one of the useful features of Excel. It can be used to add desired Excel features, and whenever required, they can be used in the quickest possible ways. Therefore, we can add a shortcut on QAT to send the current workbook to the desired recipient in just a few clicks.
We only need to add the shortcut once, which can be used immediately as many times as needed without adding the shortcut again and again. To add a shortcut on QAT to email a workbook, we need to use the following steps:
- First, we need to press a right-click button on any tab within the Excel window and click the ‘Customize Quick Access Toolbar’ option.

- We need to select the ‘All Command’ option under the ‘Choose Command from’ drop-down in the next window.
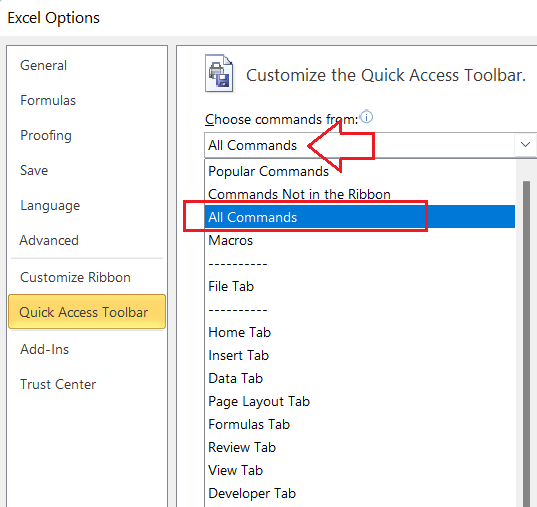
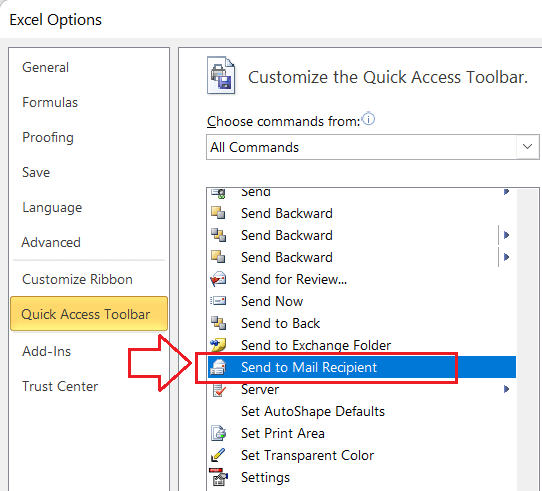
- We need to locate the option named ‘Send to Mail Recipient’, as shown below:
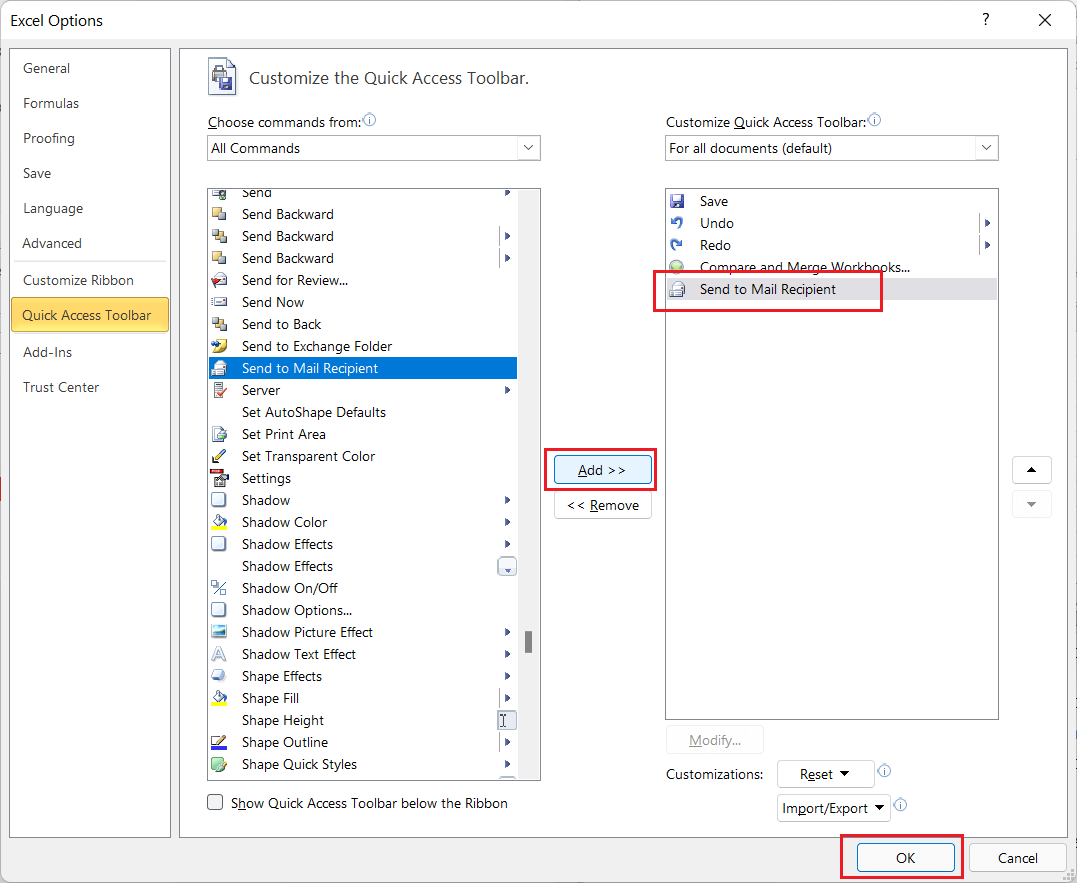
- By selecting the option ‘Send to Mail Recipient’, we need to click the Add button. Once the option is added to the right-hand side box, we must click the OK button to apply the preferences.
- After following the previous steps, we will get a new shortcut on our quick access toolbar. It will look like this:

The above shortcut mainly helps to perform the following tasks in Excel:
- Send a part of the worksheet in the Email body.
- Send a single Excel worksheet as the Email attachment.
- Send the entire workbook as an email attachment.
Once the shortcut has been added to QAT, the main part of the method (emailing a workbook) comes to the action. Let us now understand how we can send an entire workbook using the shortcut we added:
- First, we need to open a specific workbook that we want to email.
- Next, we must click the shortcut ‘Send to Mail Recipient’ from the quick access toolbar.
- In the next window that opens, we must select the radio button associated with an option ‘Send the entire workbook as an attachment’. We need to click the OK button after selecting the corresponding radio button.

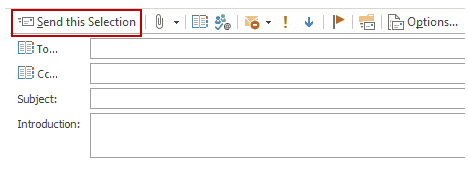
We can select the other option in the above image when sending any specific sheet or some specific part of the sheet from the workbook. - After completing the previous step, Excel will create a new blank message within the default email client (Outlook in our case) and attach the current workbook to it. It will look like this:
In the above image, we need to specify the email address of the recipient/recipients to whom we wish to email a corresponding workbook. - Once all the details are filled in, we must click the Send button to email a workbook to selected recipients.
It is important to note that the ‘Send’ button will be displayed only after configuring the default email client on our device. In this way, we can email a current workbook using the shortcut from the QAT without leaving MS Excel.
Important Things to Remember
- An email client must be configured within the device to send the current workbook directly from Excel.
- Internet connection is required to email a workbook to the desired recipients.
- It is recommended to always double-verify the recipient’s address before sending the workbook over email. In this way, we can eliminate the possibility of our important data reaching unwanted hands.
- After a workbook is sent through the Outlook window, it closes automatically. Therefore, it is recommended to go into Outlook and check the sent messages to ensure that the email has been sent successfully.


